Read back, export and share a run
An epic records one full run of a flow. In this tutorial you open a finished epic, read what its agents did, inspect its trace and cost, export and import it as a file, and back it up to a git repository.
What you need
- Humanize Desktop, or the browser page from
hmz web. - One finished epic. If you have none, complete Finish your first task in Humanize Desktop first.
- An empty private git repository that your local
gitcan push to, for the last two steps.
1. Open the epic and read a session
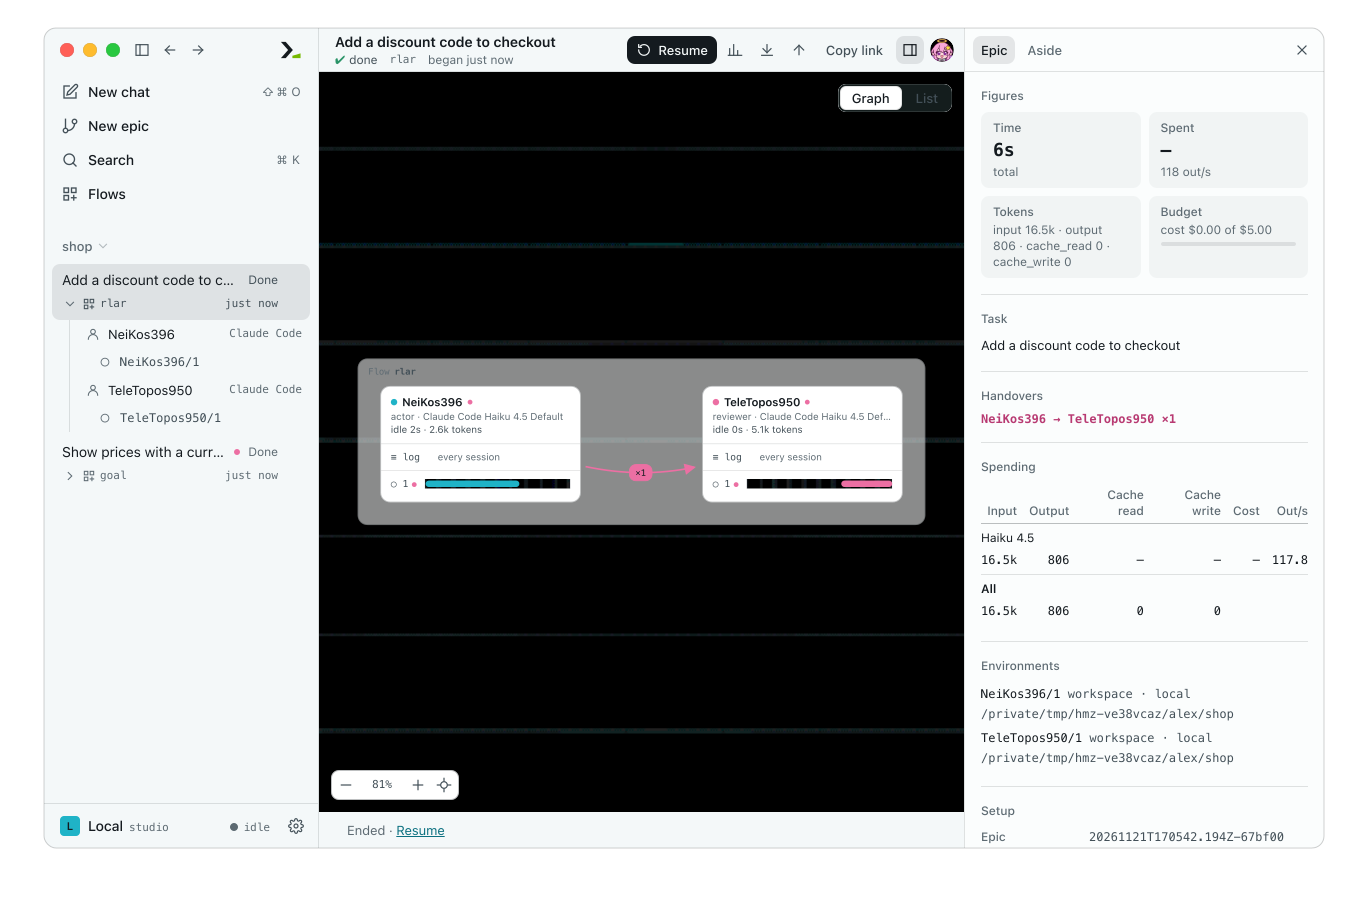
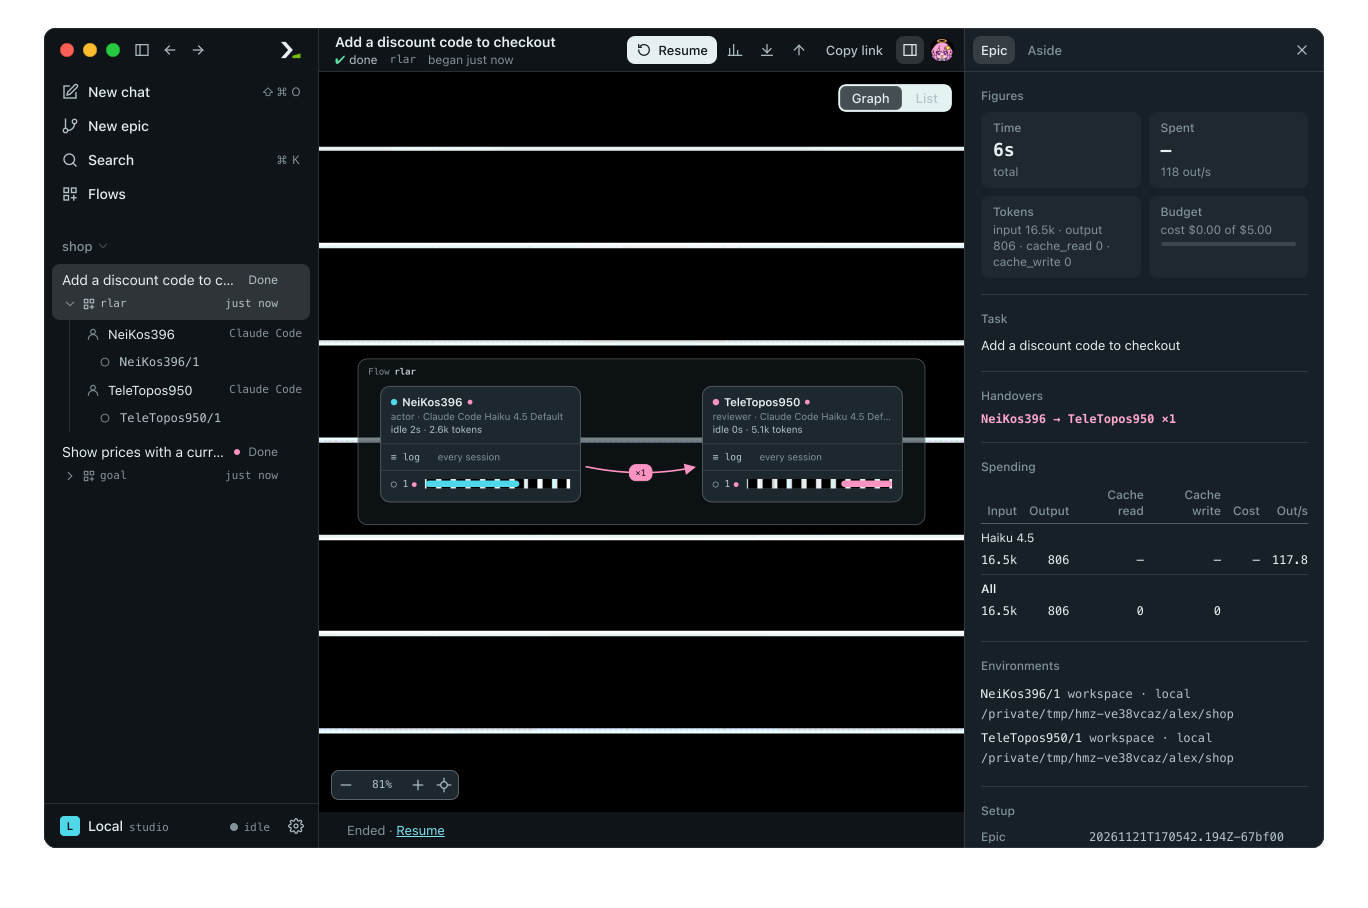
- Click the epic under its folder in the sidebar. Each row shows the task, outcome, and flow. The flow graph opens with one box per agent and its sessions below. The right panel shows what the epic spent and how long it took.
- Click a session row in an agent box. The transcript opens and shows every prompt, tool call, and answer.
- Click the task in the top bar to return to the graph.
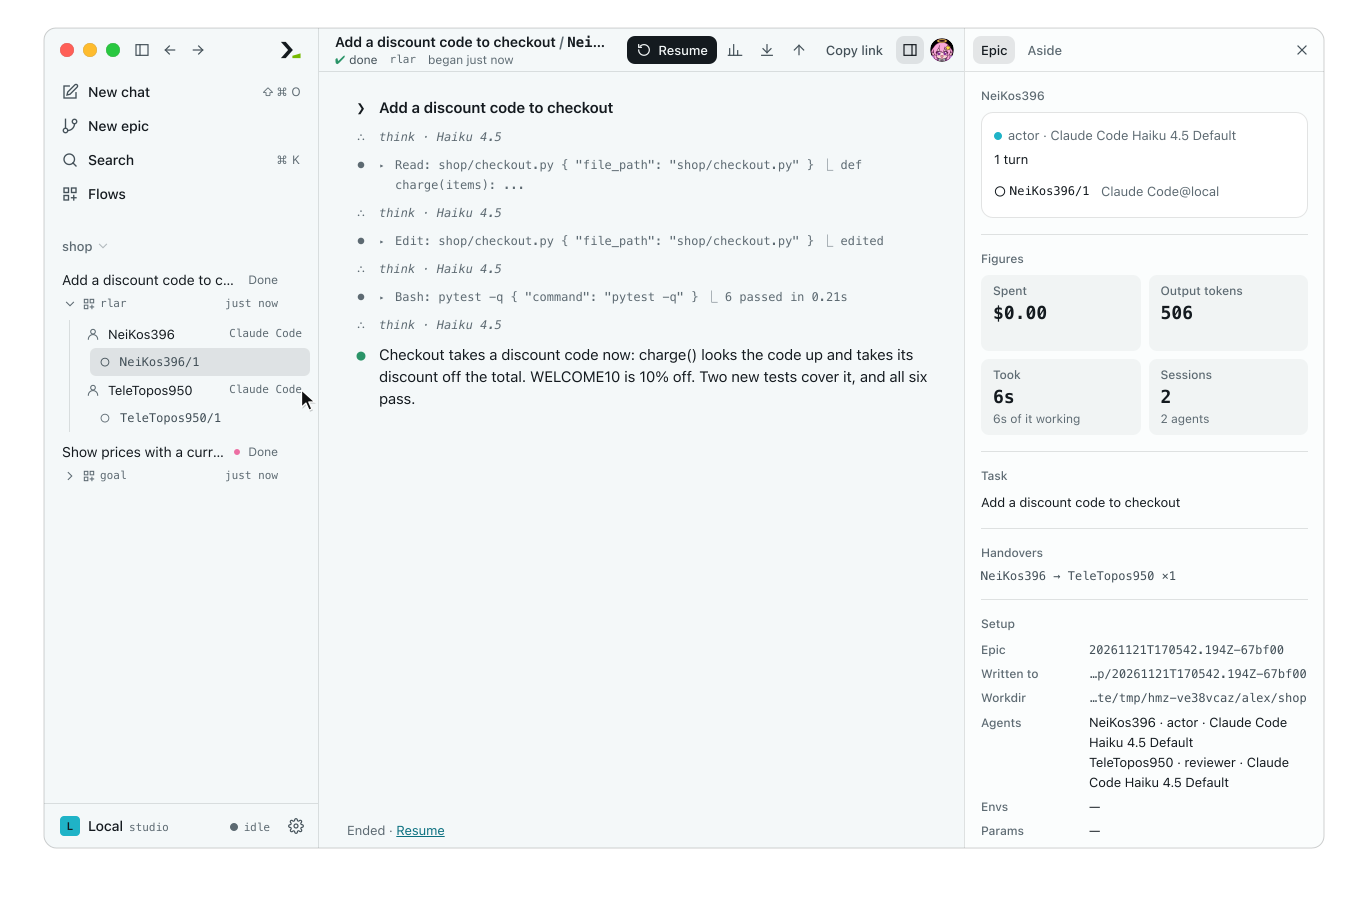
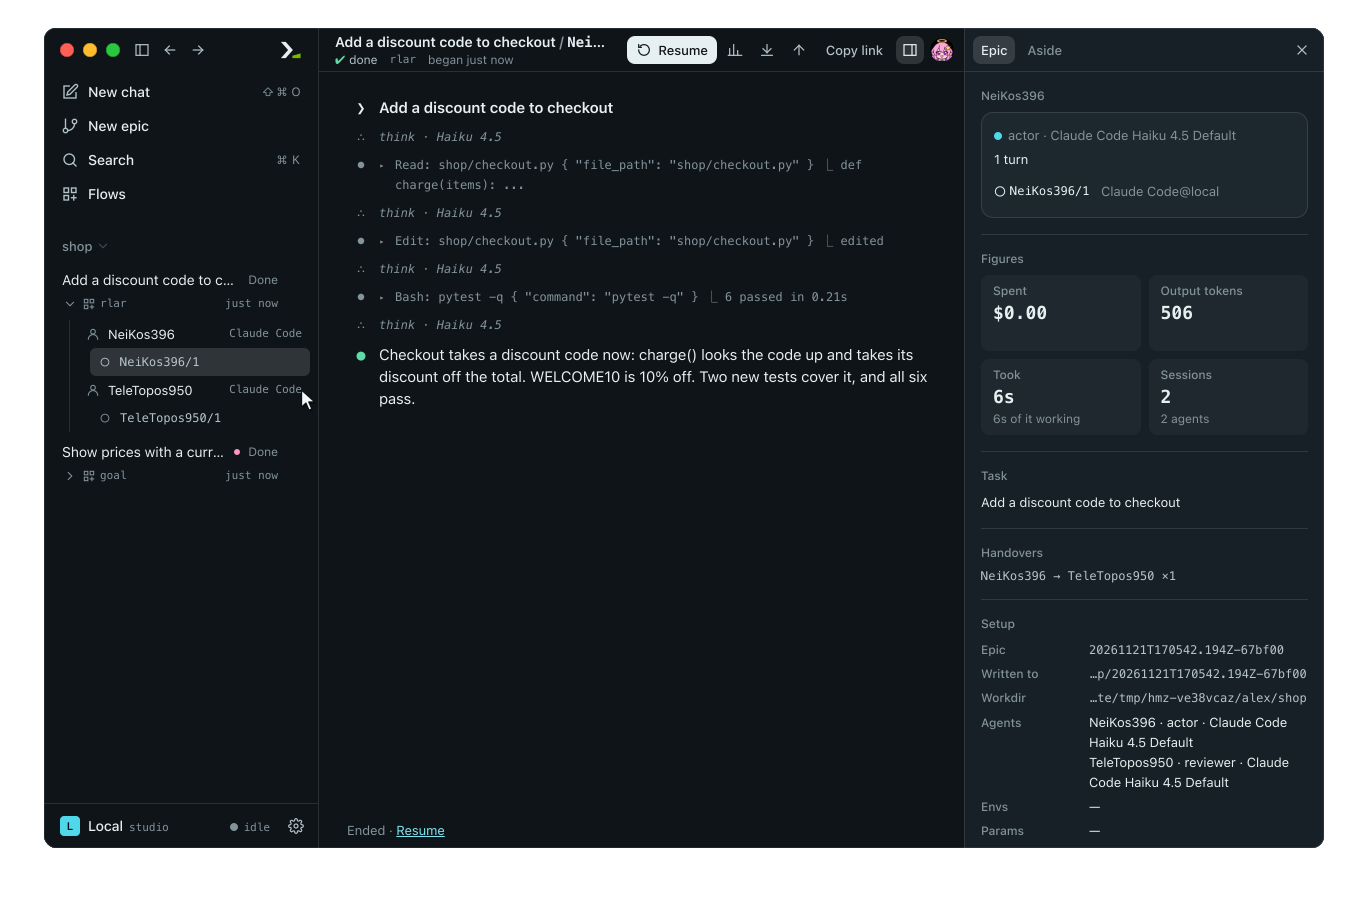
From the sidebar to one session's transcript.
2. Open the trace
Exomyth is the epic trace viewer. It draws the flow, every session, and every tool call on one time axis.
- Click the Exomyth chart icon in the epic bar.
- On the Timeline tab, click a span. The right panel shows its category, start, duration, and arguments.
- Drag across the chart to pick a time range. Press 0 to reset the view, or / to search for a span by name.
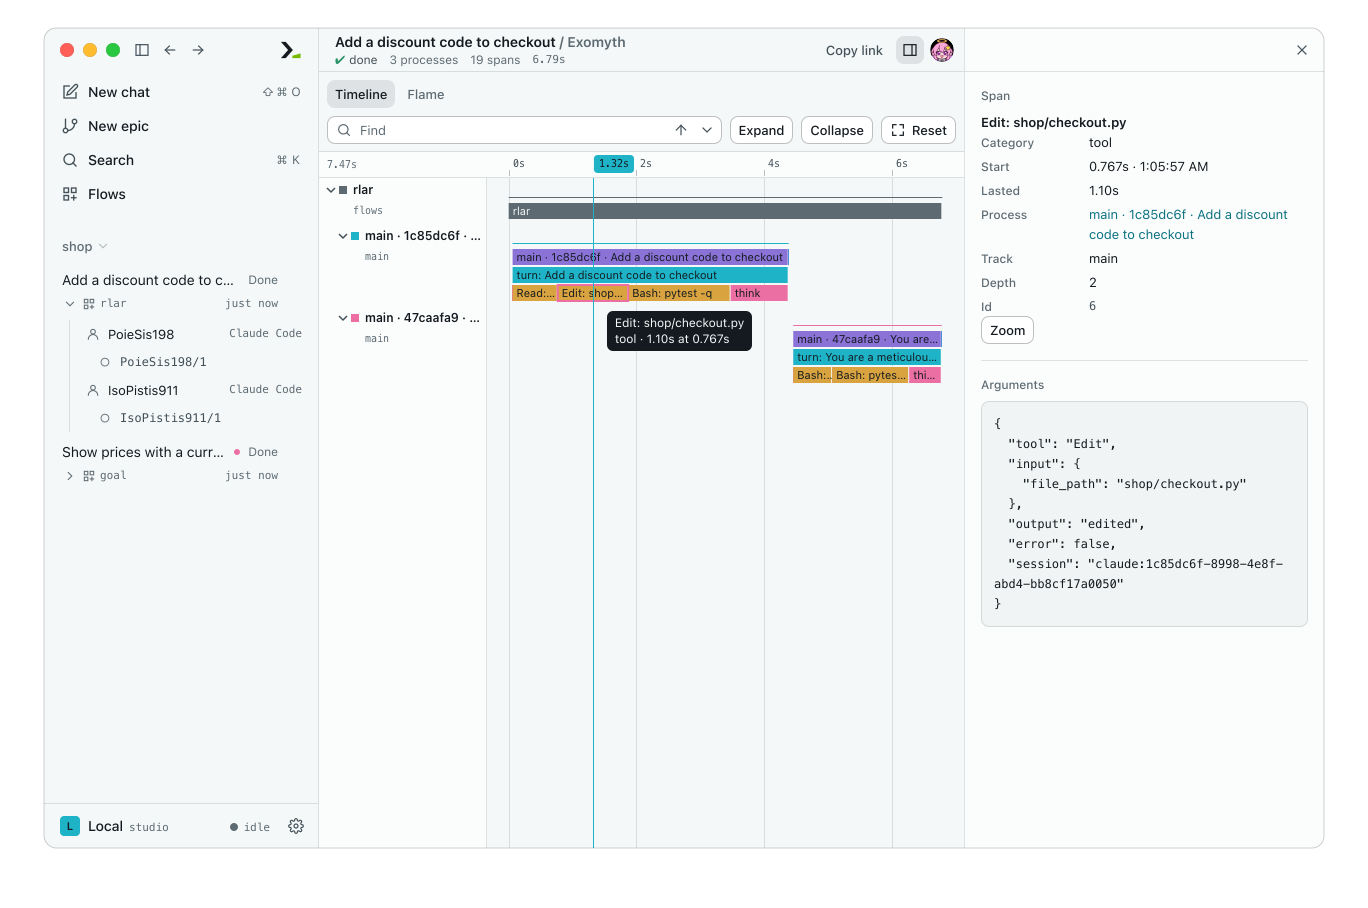
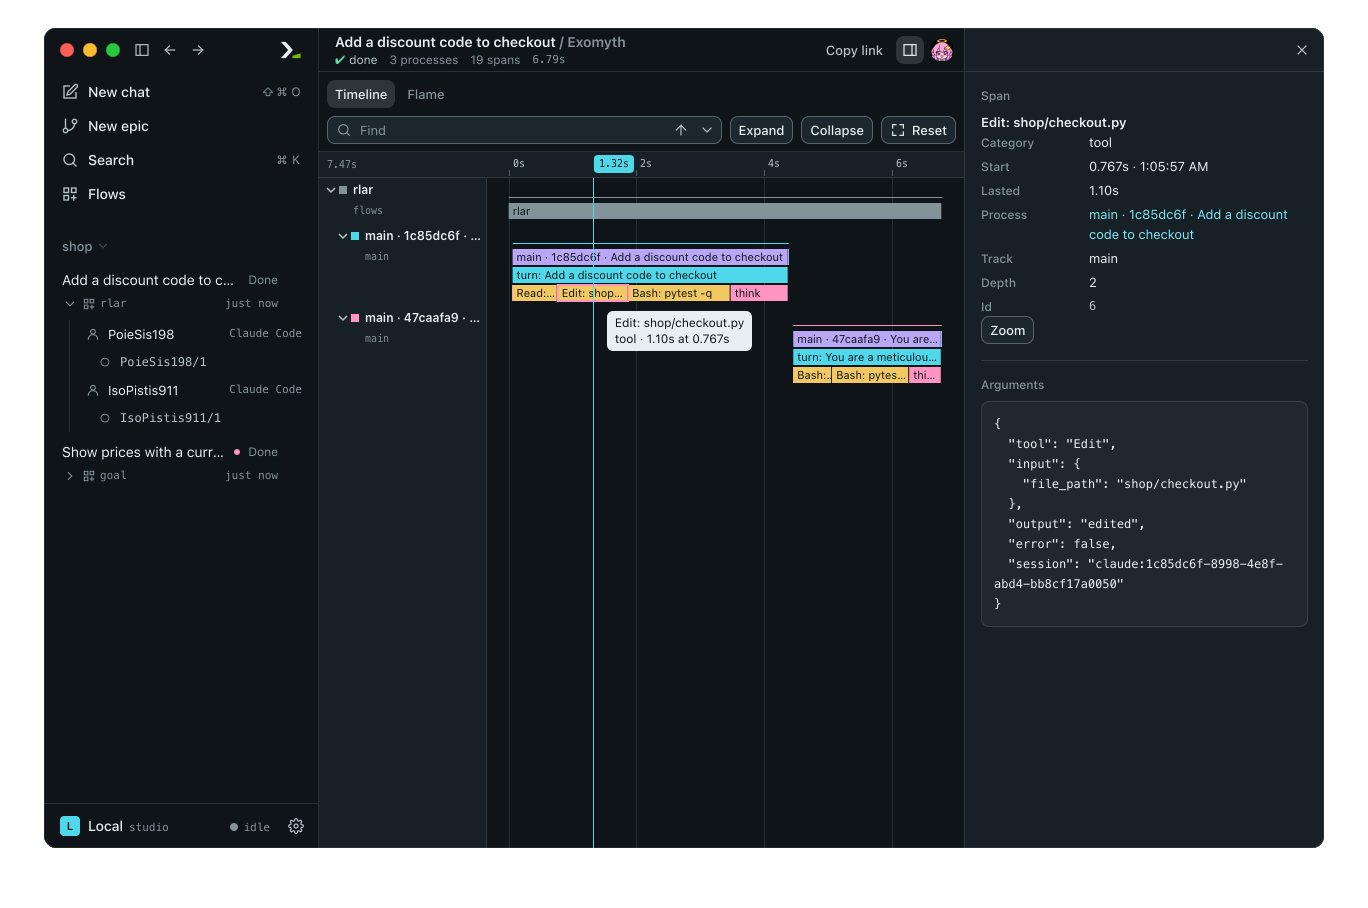
Each row is a process: the flow first, then one per session.
3. See where the time and tokens went
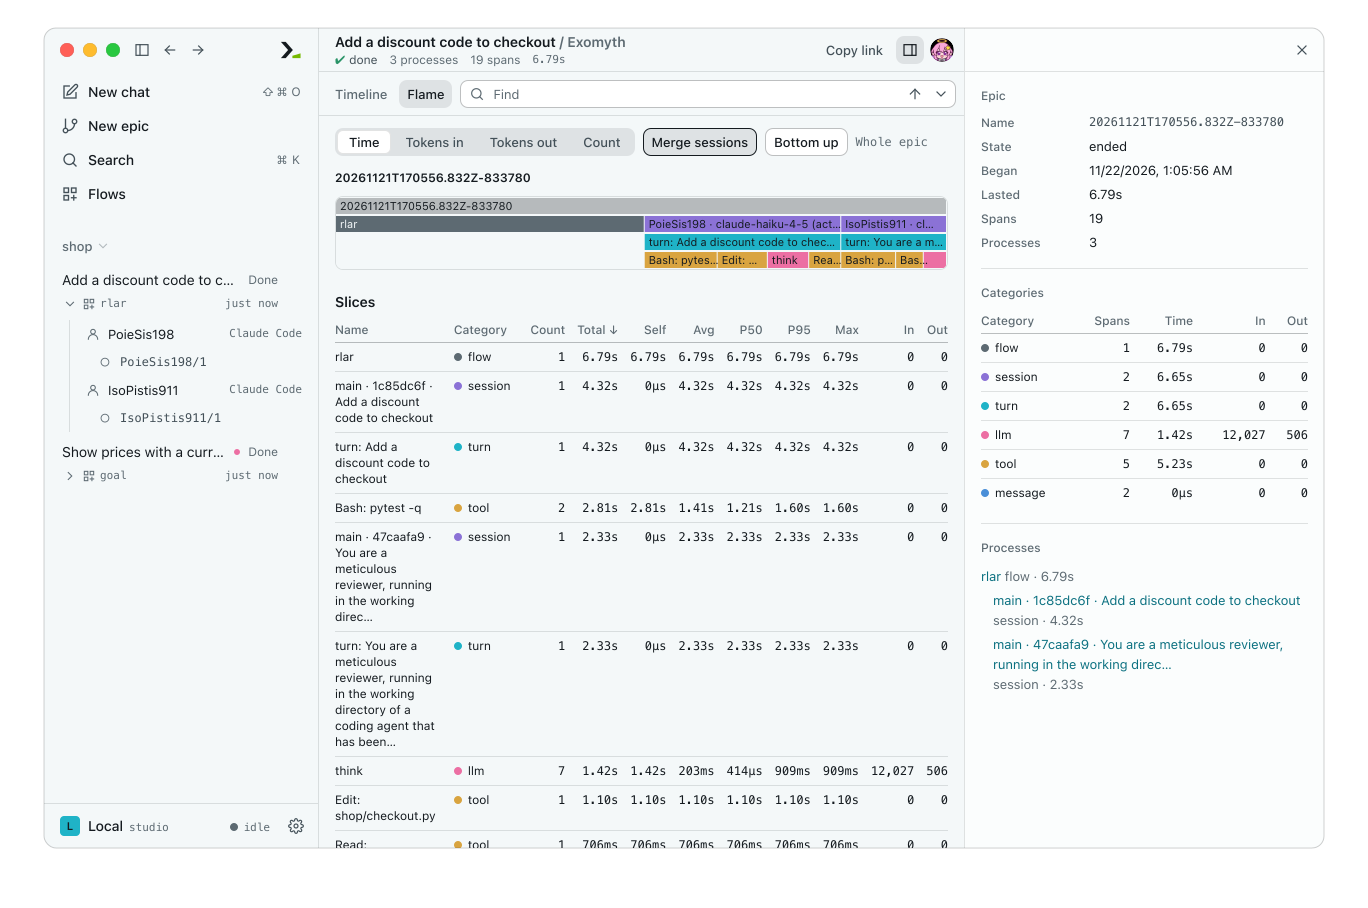
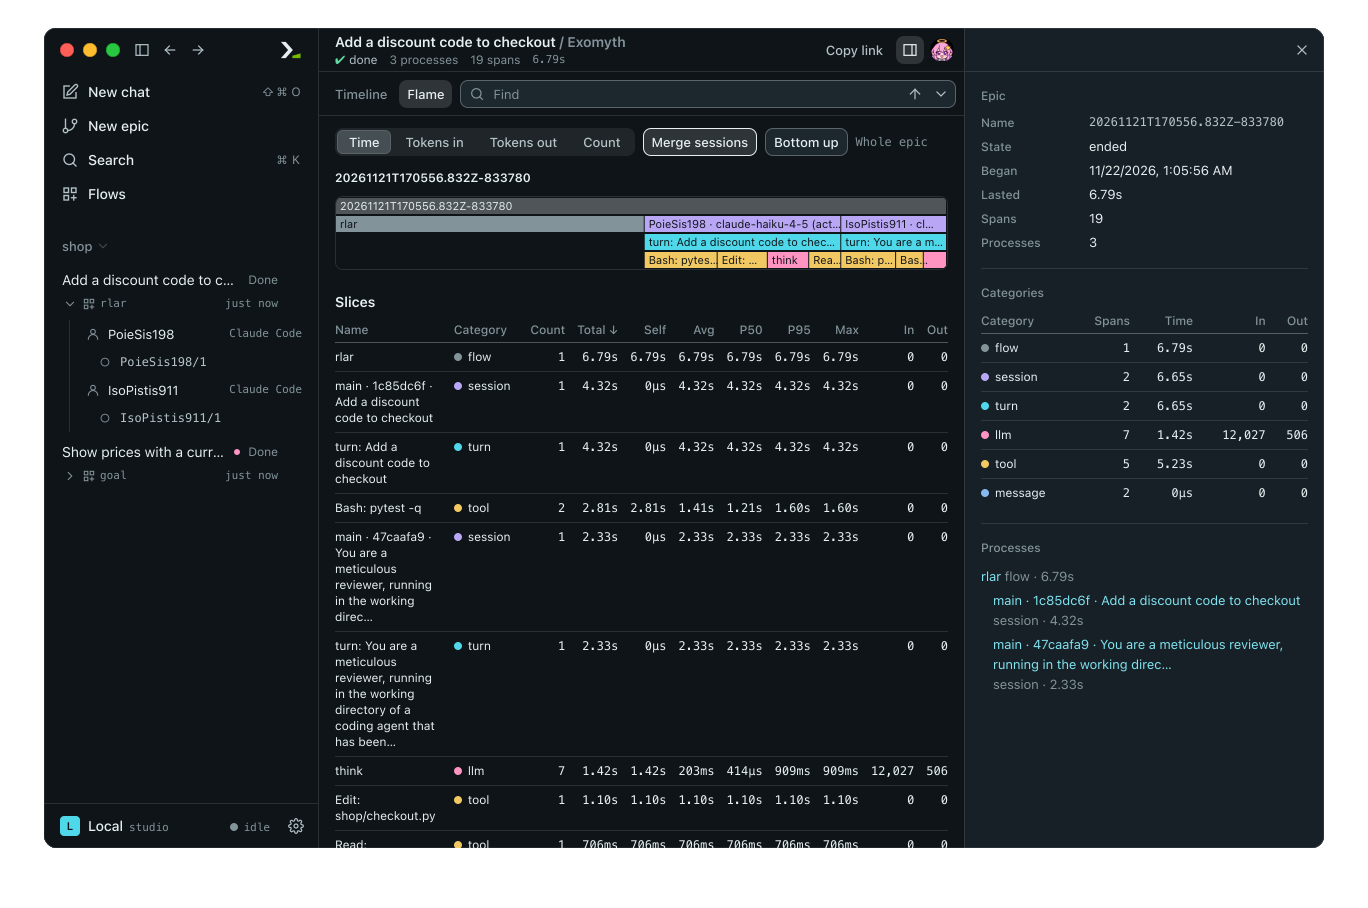
- Click the Flame tab. The flame graph stacks the epic, the flow, each session, its turns, model calls, and tools. Width represents time.
- Change the weight to Tokens in, Tokens out, or Count to resize spans by that metric.
- Read the Slices table below the graph. Each row lists a span name with its count, total, average, and maximum. Click a column header to sort.
4. Check usage
The epic's right panel shows its own cost. To view total spending across runs:
- Click the Settings gear icon at the bottom of the sidebar.
- Under Daemon, open Usage. It covers every folder on this daemon.
- Pick a Range:
7d,30d,90d, or365d.
Cost by day charts daily spending. By flow lists the epics, cost, output tokens, and time for each flow.
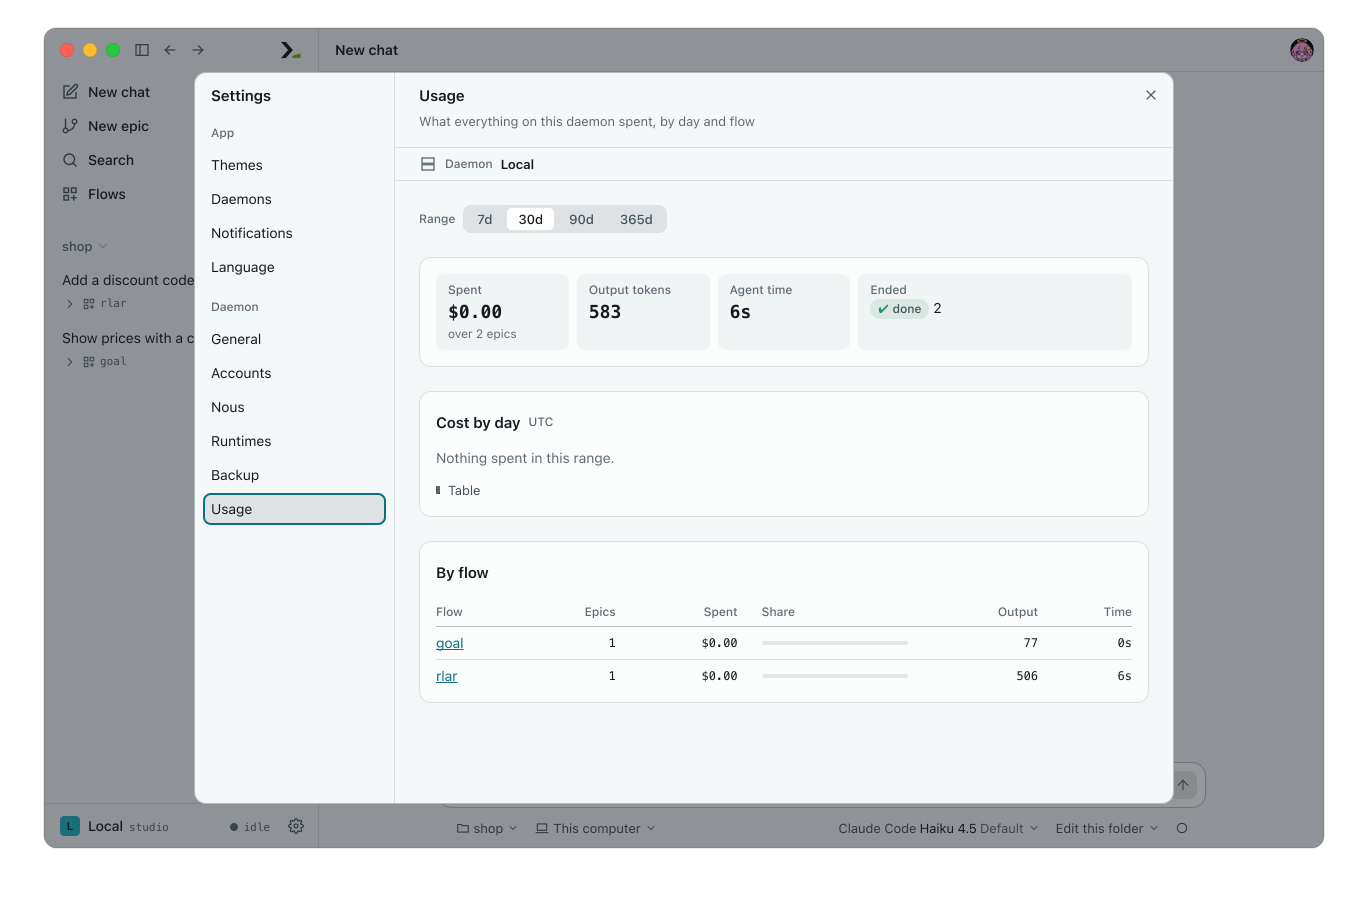
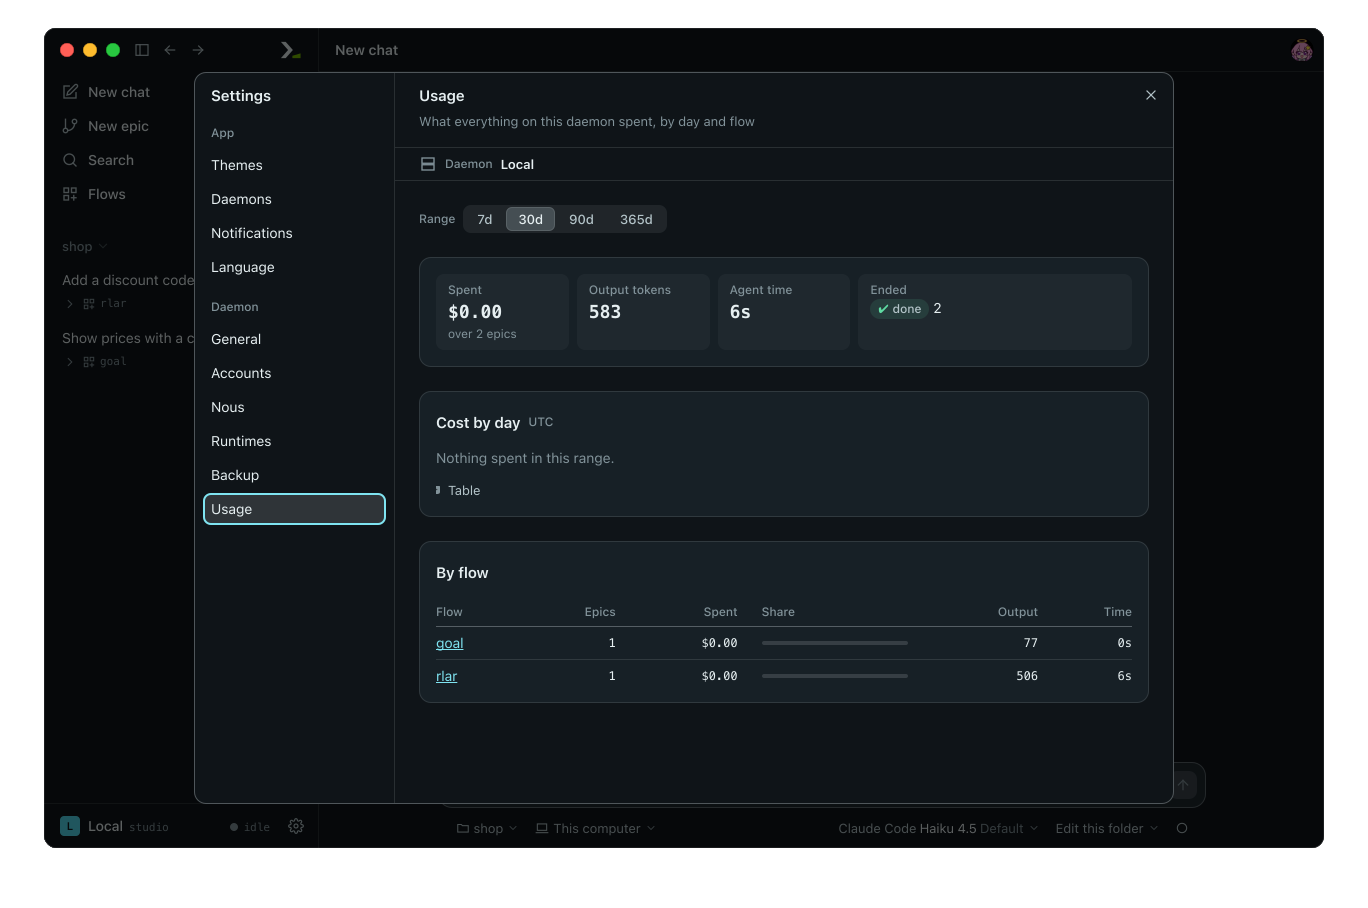
The model in this picture has no list price, so nothing is charted.
To see one folder's spending, right-click the folder's heading in the sidebar and choose Usage: it opens that folder's Workspace settings on its Usage page.
5. Export the epic
Click the Export download icon in the epic bar.


Humanize creates a file named after the epic ending in .hmzepic. Humanize Desktop saves and reveals it in your Downloads folder; a browser downloads it directly.
The archive contains the epic record and every session log, which is what the graph and the trace are drawn from. Humanize replaces recognized credentials with [redacted], but keeps all prompts and answers. Review the contents before sharing the file.
TIP
Export appears only when the epic is no longer running.
6. Import it on another machine
Copy the file to another machine and open Humanize.
- Click Search in the sidebar.
- Under Actions, click Import and pick the
.hmzepicfile.
You can also drop the file onto the window. Where Humanize Desktop is installed, double-clicking the file imports it too.
The epic opens and appears in the sidebar. Read its sessions and trace as you did in steps 1 to 3.
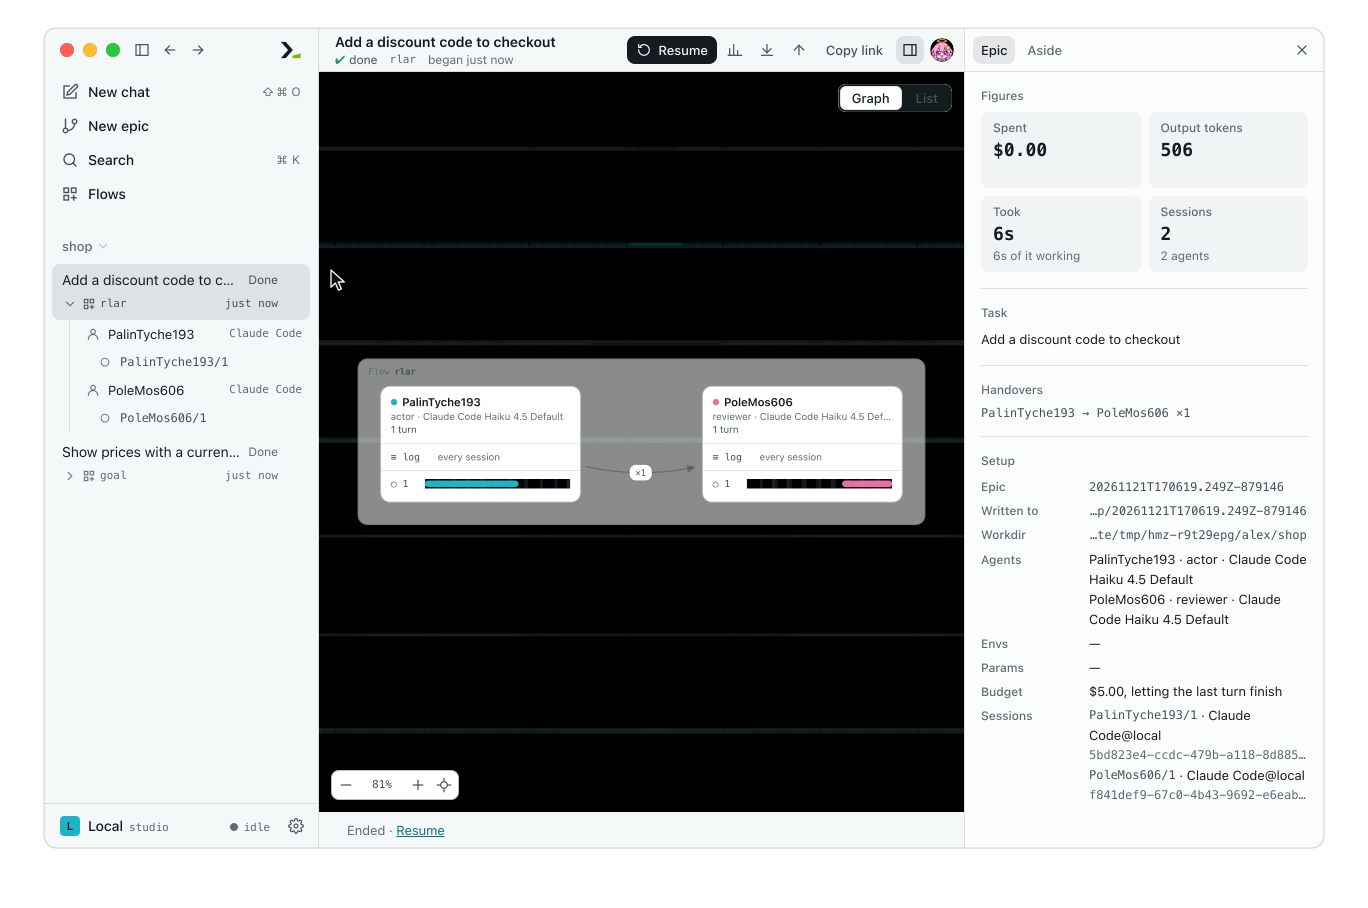
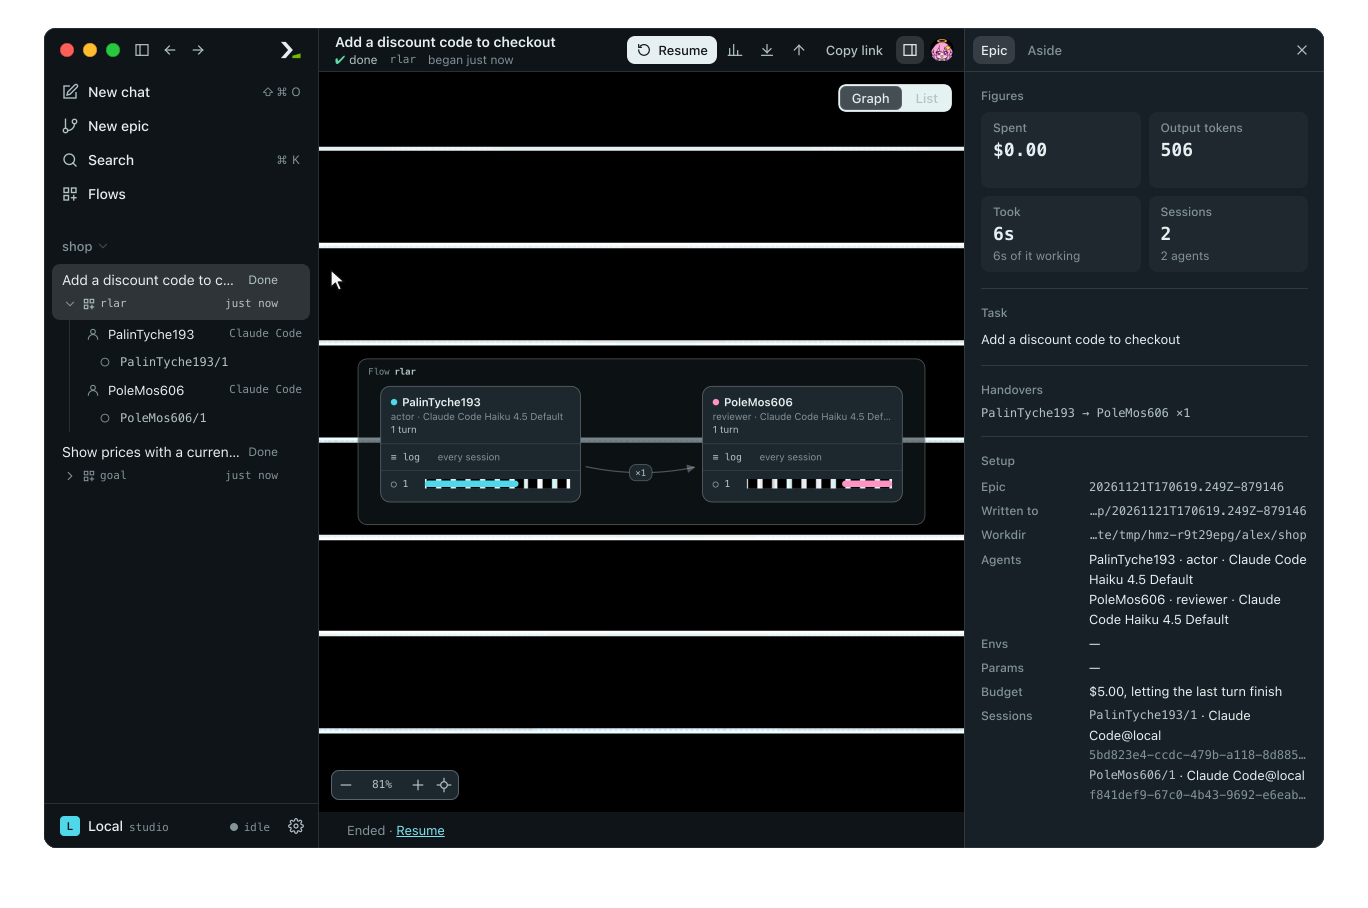
An imported epic is an epic like any other.
7. Back it up to a git repository
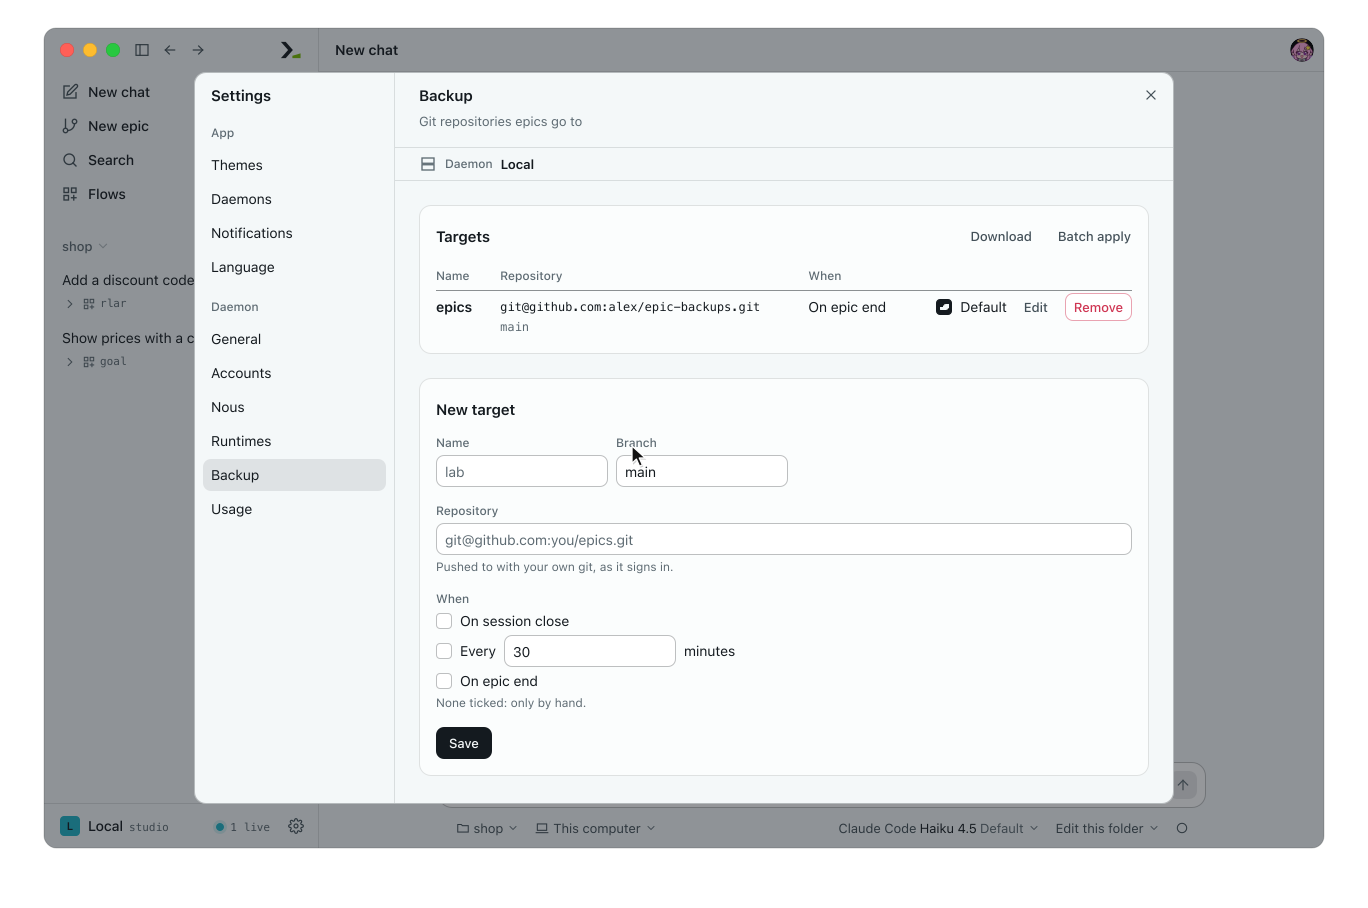
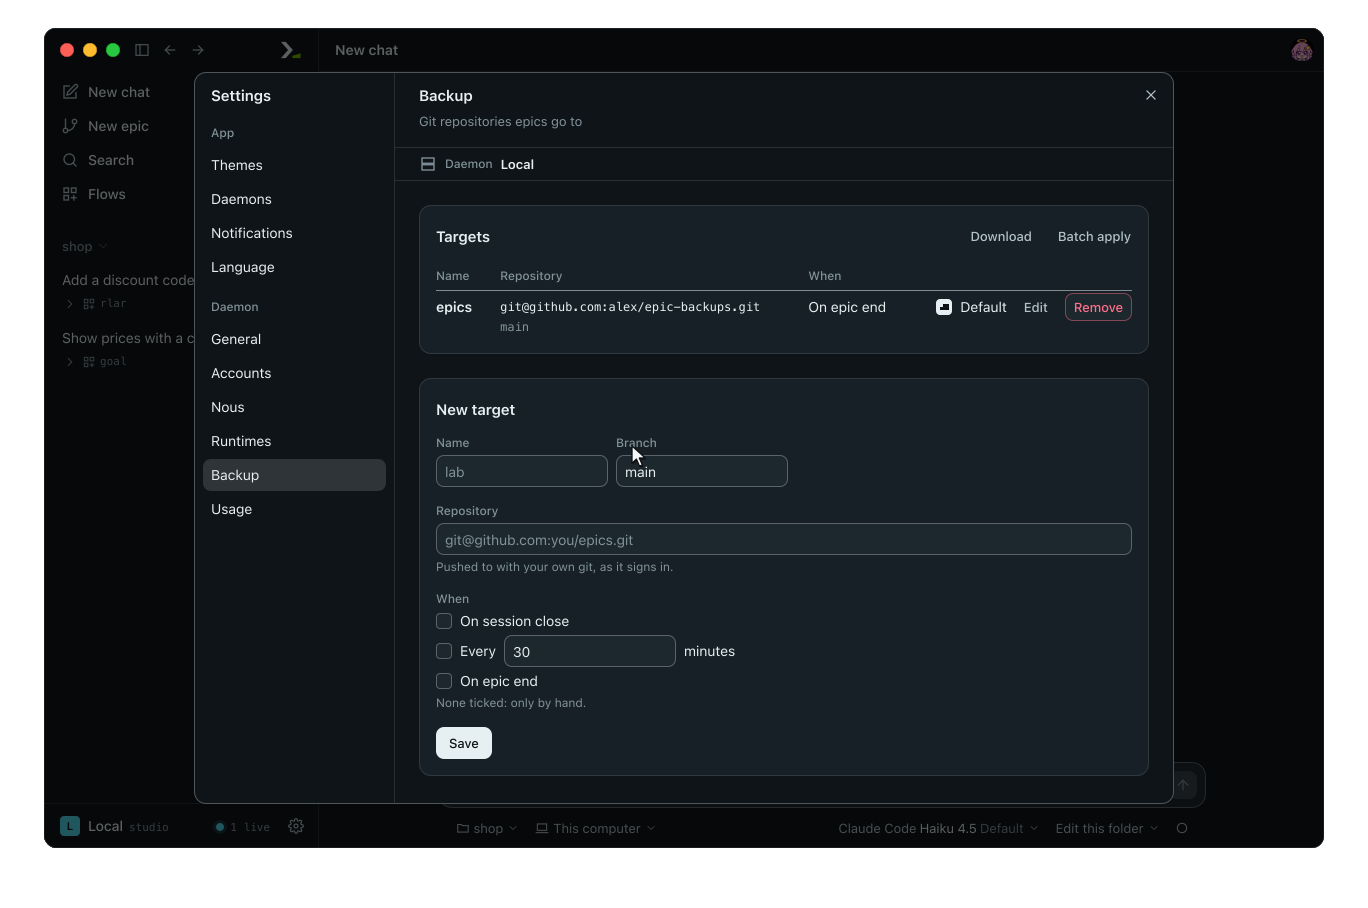
A backup target is a git repository where Humanize pushes epics and chats using your system git credentials.
- Open Settings, select Backup, and click Add target.
- Enter a Name (for example
epics) and the Repository URL. Keep Branch asmain. - Under When, tick On epic end to back up every epic automatically when it finishes. Leave it unticked to back up only by hand.
- Click Save, then tick Default on the new row. An epic that names no target of its own is backed up to the default ones.
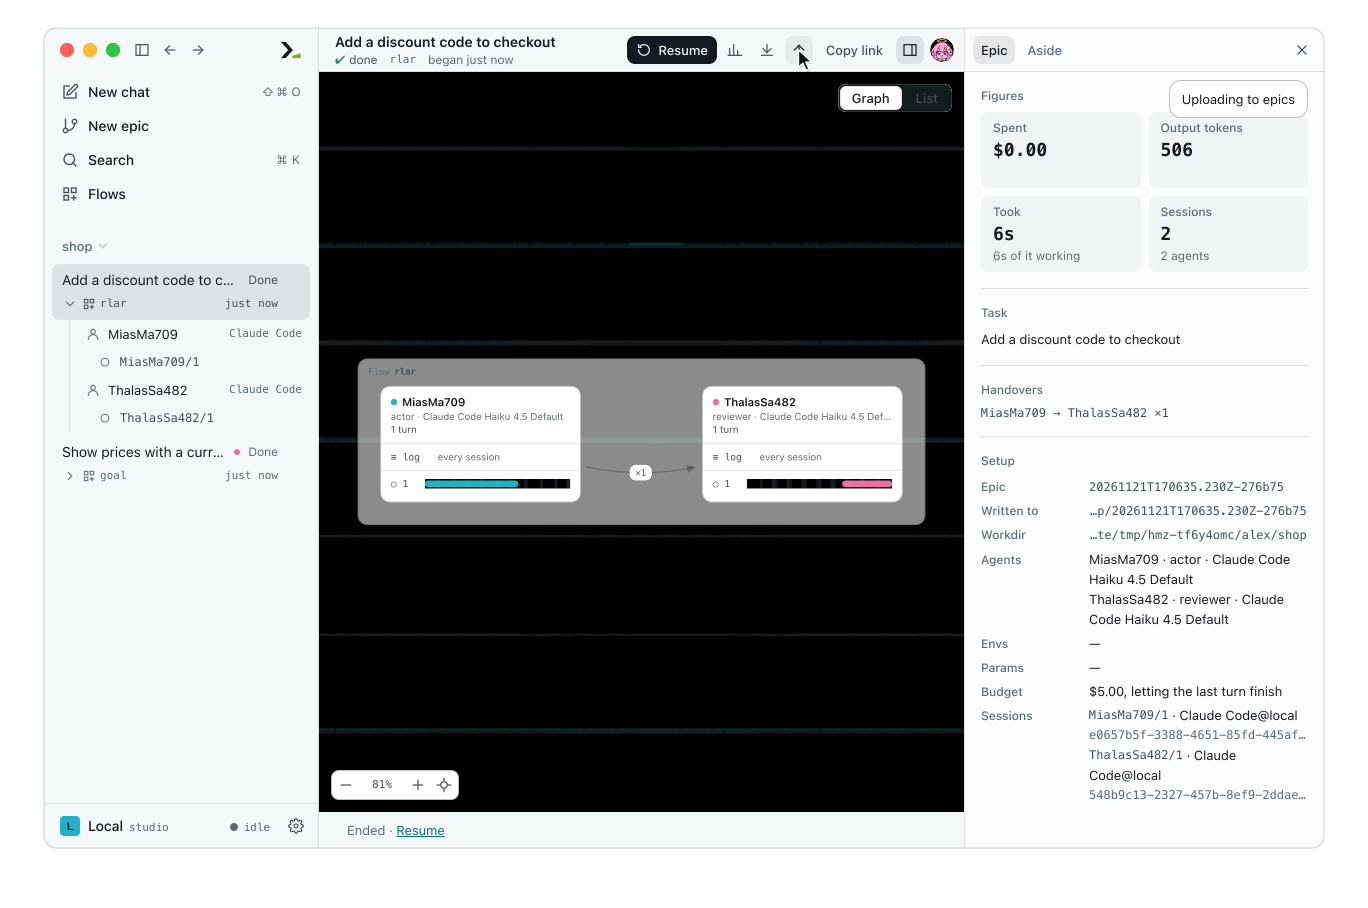
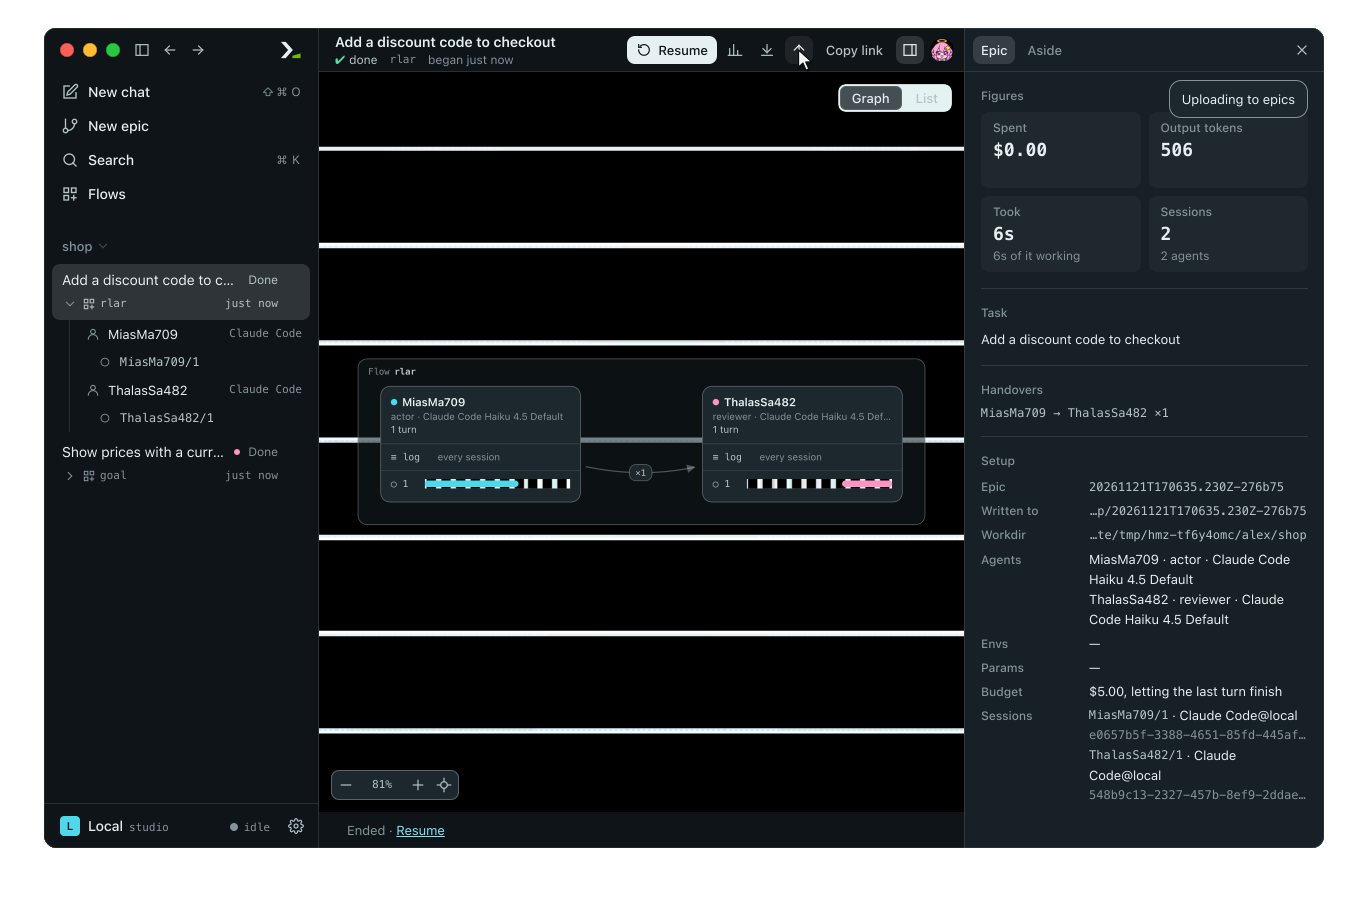
Open your existing epic and click the Upload up arrow in its bar. A notice shows which targets receive the upload.
List the contents of the backup repository in a terminal:
hmz backup --list

On another machine configured with the same target, open Settings, Backup, Download, and pick the epic. Or run:
hmz backup --pull <epic>What you did
- Opened a finished epic and read a session transcript.
- Inspected its trace as a timeline and a flame graph.
- Checked usage costs by day and by flow.
- Exported the epic as a
.hmzepicfile and imported it. - Added a git backup target and uploaded the epic.
Next
- History and search: find past epics in the app and terminal.
- Trace a run with Exomyth: use every control in the trace viewer.
- Export and import a run: see what the archive holds and what gets scrubbed.
- Back up to git: configure policies, per-epic targets, and downloads.