Run the work on a server or in a container
Keep Humanize on your machine and run the agent's work on an SSH server or in a Docker container. By the end of this tutorial, you will have a chat working on a remote server with its files, changes and a shell open beside it.
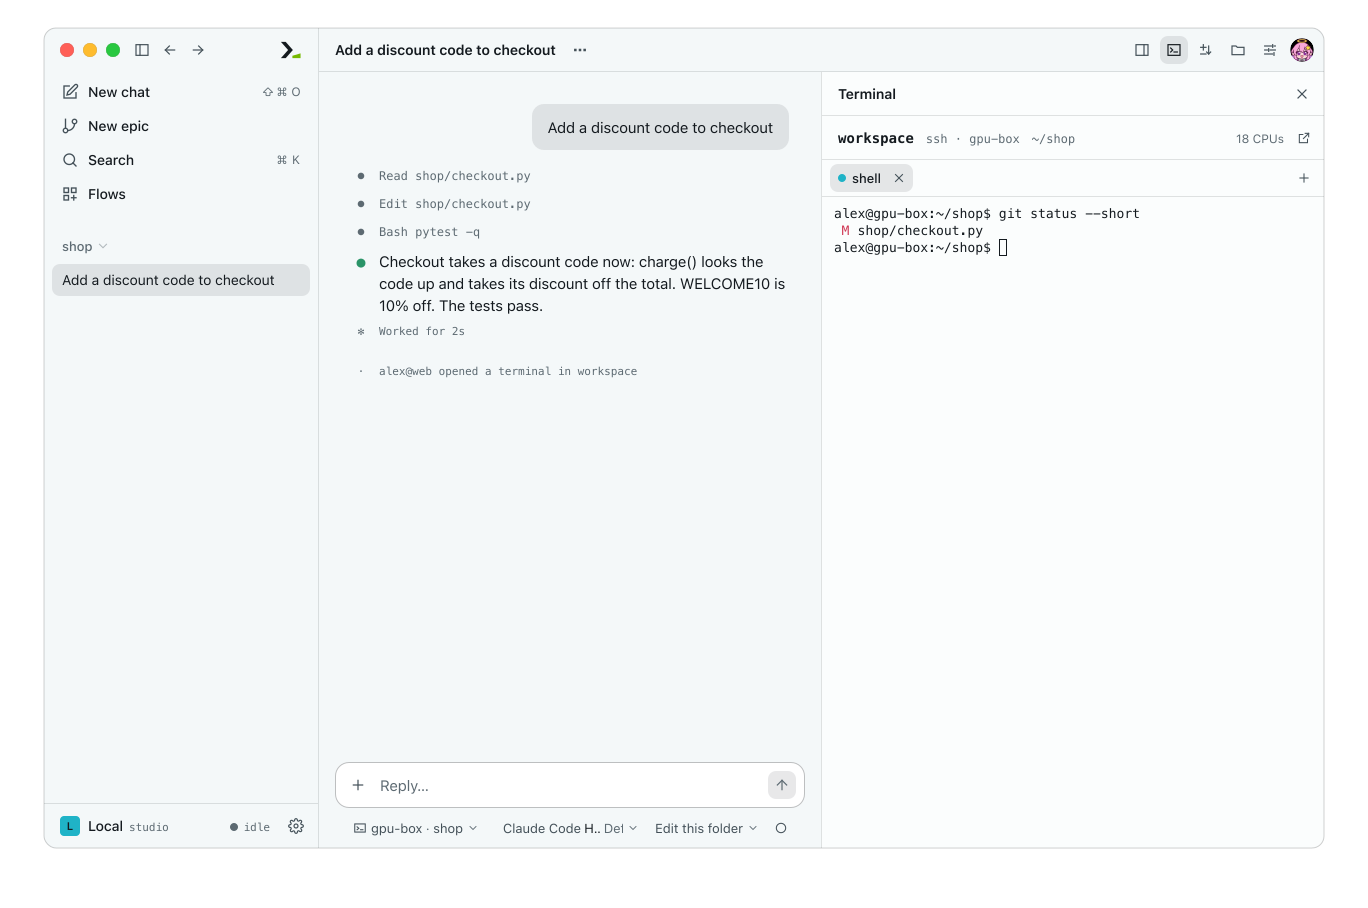
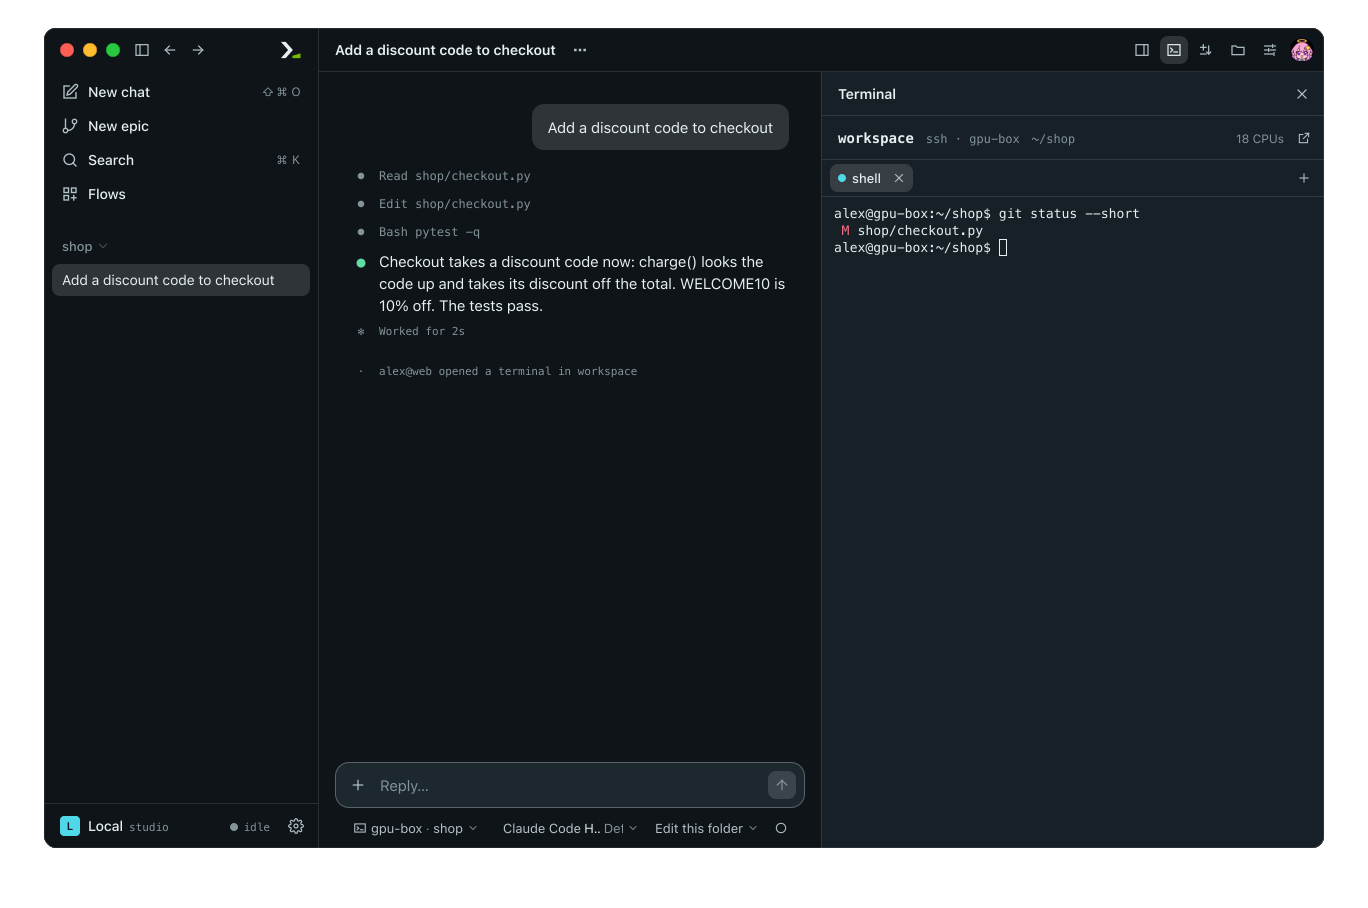
The chat is on your machine. The shell beside it is on the server.
What you need
- Humanize on your machine with one coding agent signed in. See Finish your first task in Humanize Desktop.
- A Linux or macOS server that
sshreaches without asking for a password. This tutorial usesgpu-box, aHostin~/.ssh/config. Test it:ssh -o BatchMode=yes gpu-box truemust print nothing and exit 0. - Your project on the server at
~/shop. - The same coding agent CLI installed and signed in on the server. Step 4 covers the alternative.
- Docker running on your machine for step 5.
You do not install Humanize on the server. Humanize copies a small binary there on the first connection.
1. Import the server
A runtime is a machine saved under a name.
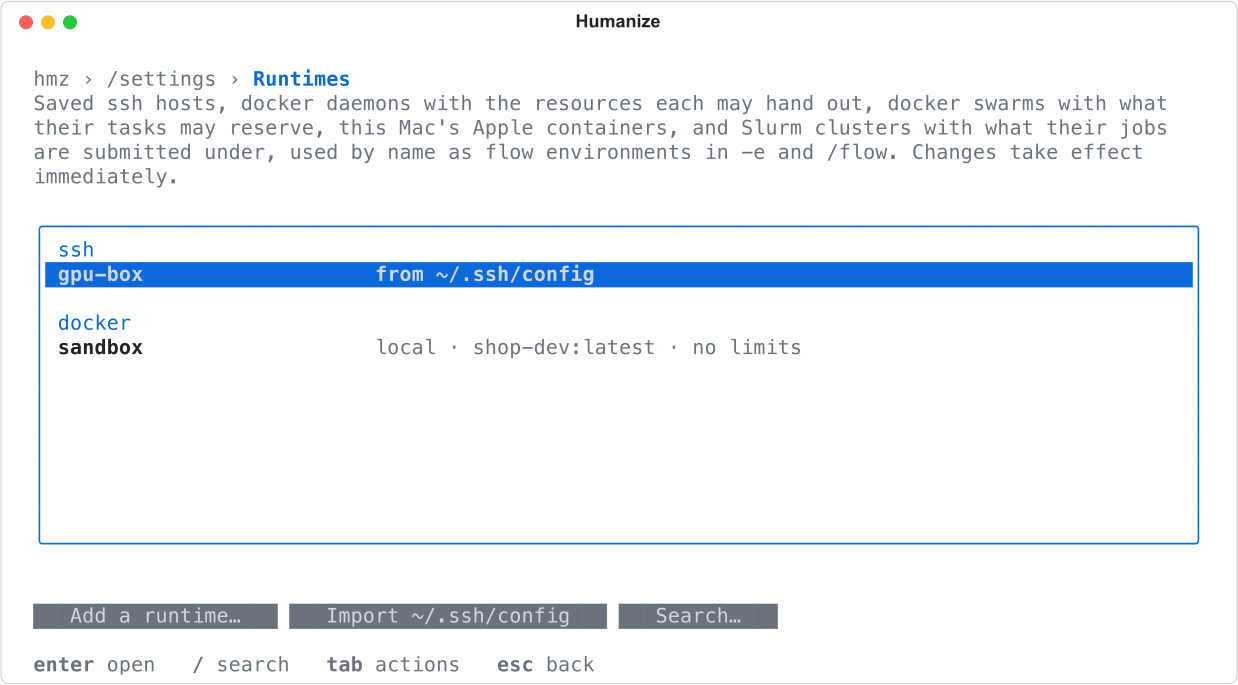
- Open Settings, then Runtimes.
- Scroll to SSH config, click Read SSH config, tick
gpu-box, and click Import. - Click Check on the new row. A tick and a CPU count confirm that Humanize can reach the server.
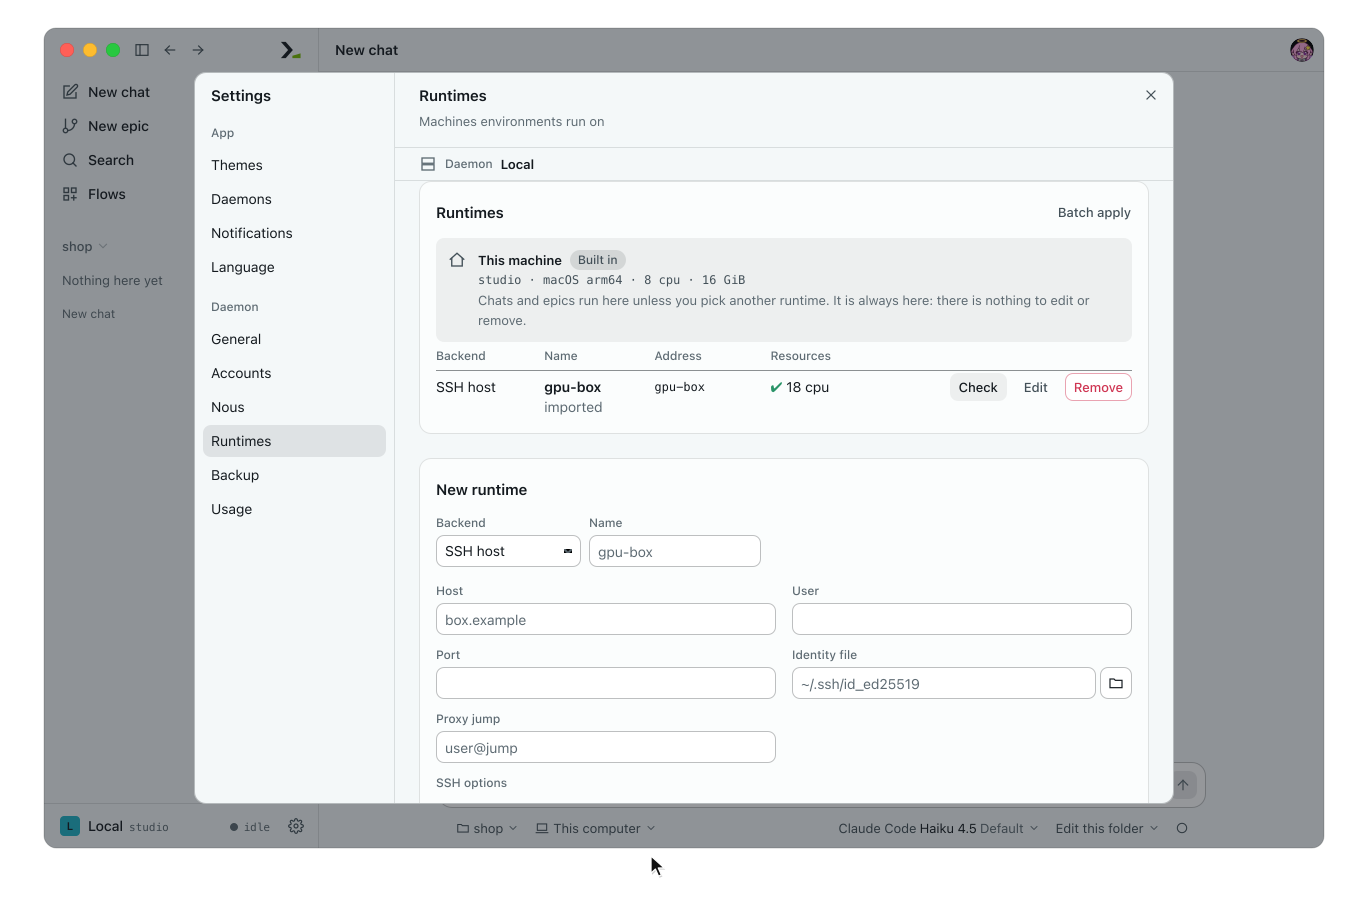
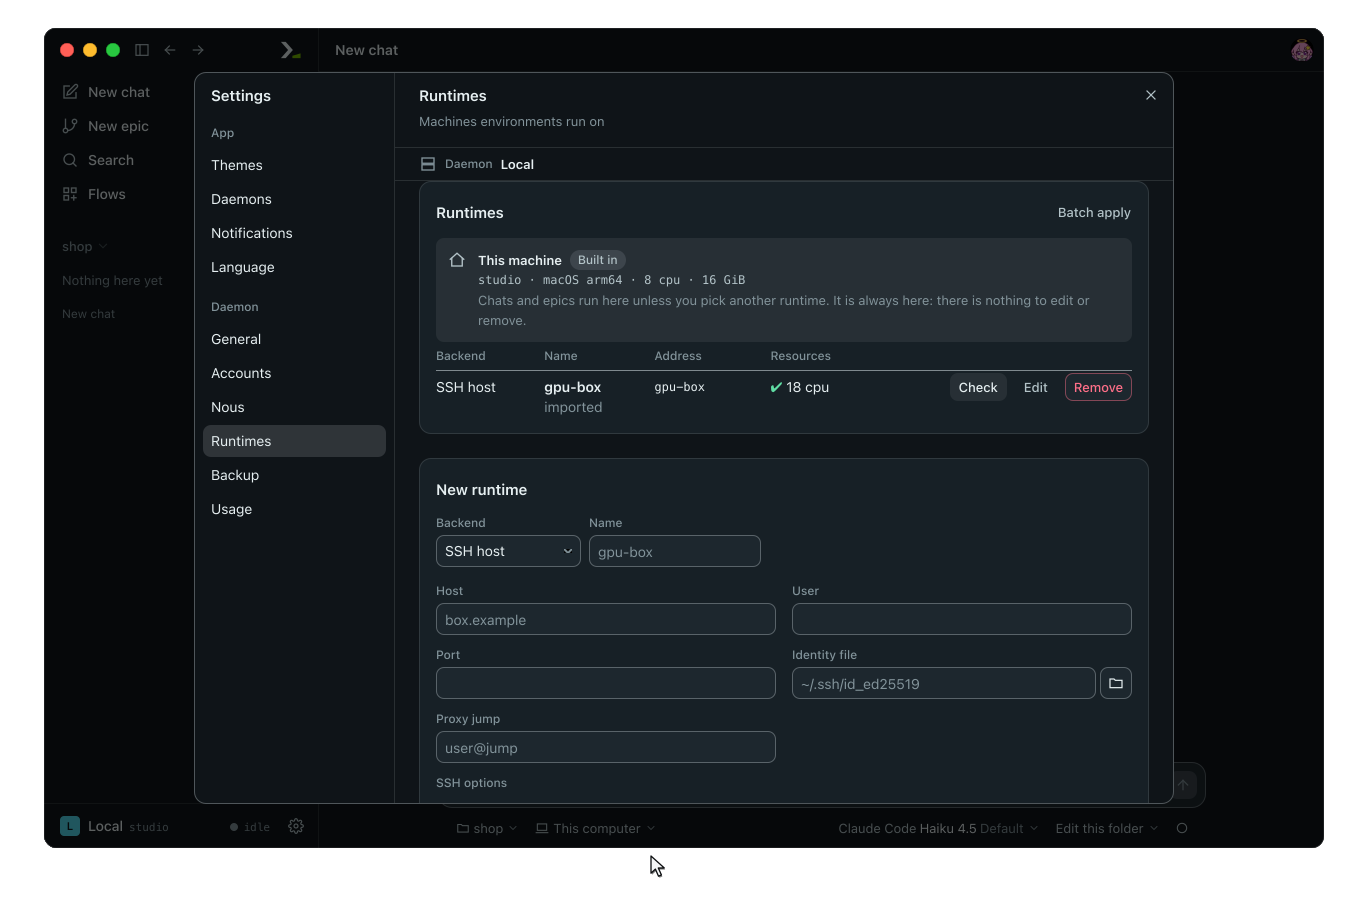
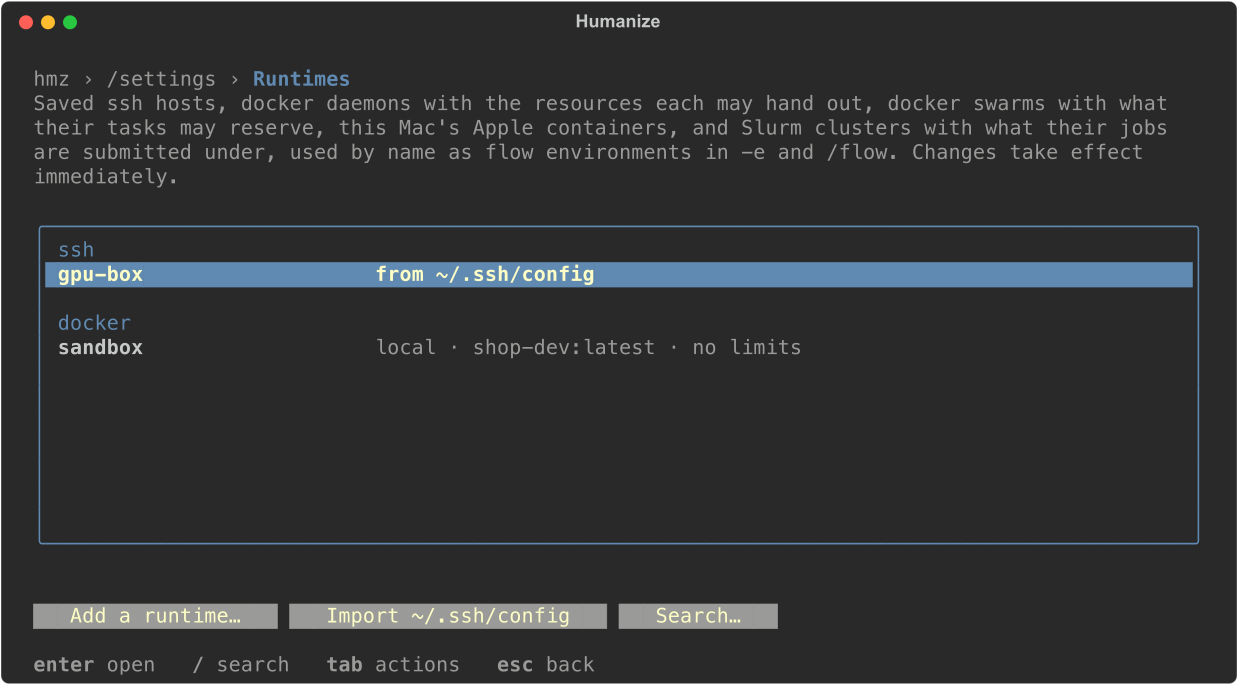
In the terminal interface, open /settings runtimes and use Import ~/.ssh/config and Add a runtime… at the bottom.
2. Start a chat on the server
- Click New chat.
- Click the environment chip (This computer) under the message box and pick
gpu-boxunder Runtimes. - Type
~/shopwhen asked for the server directory and click Use this directory. The chip now showsgpu-box · shop. - Type a task and press enter.
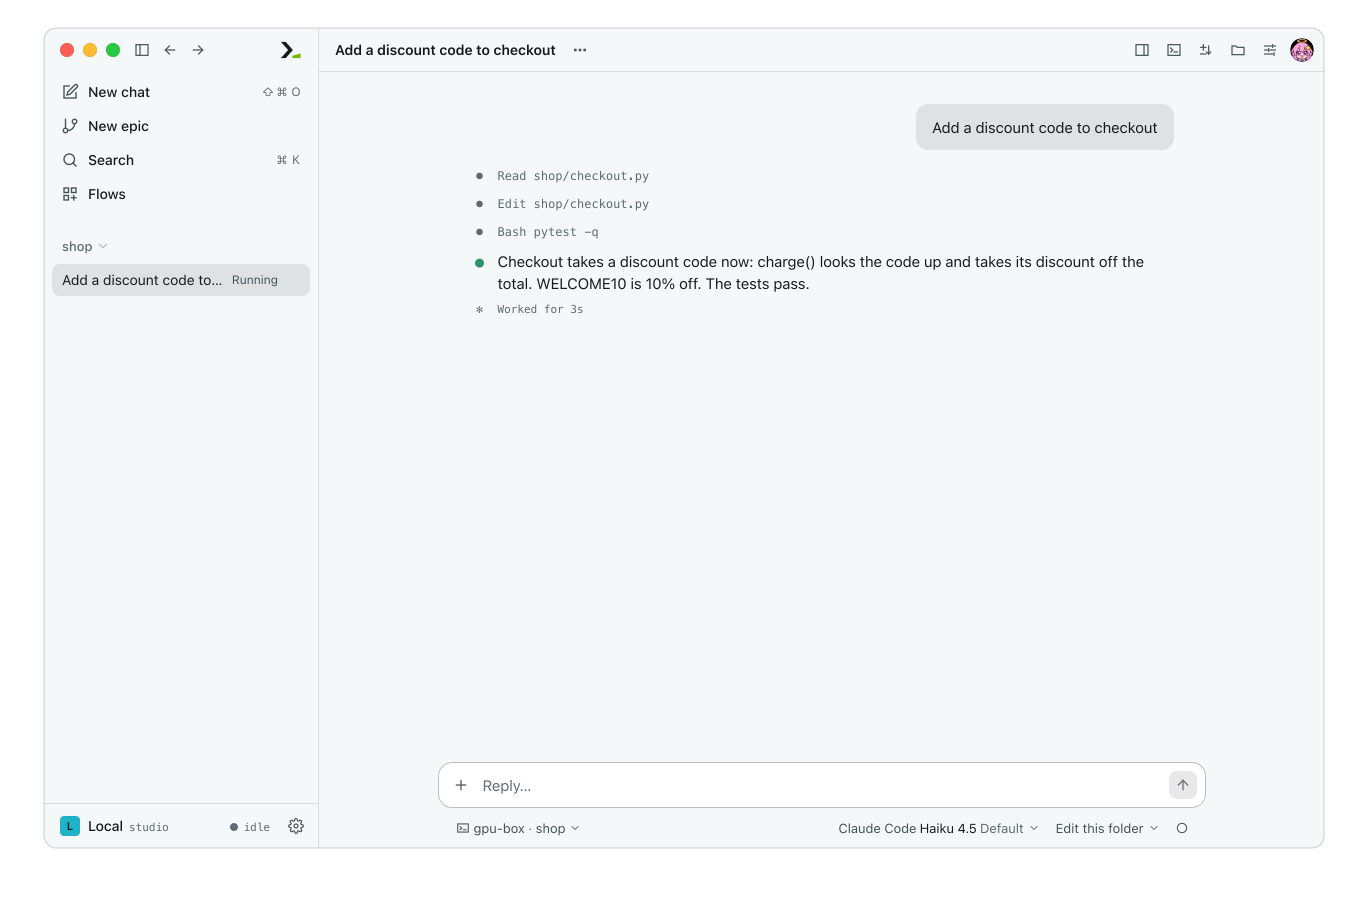
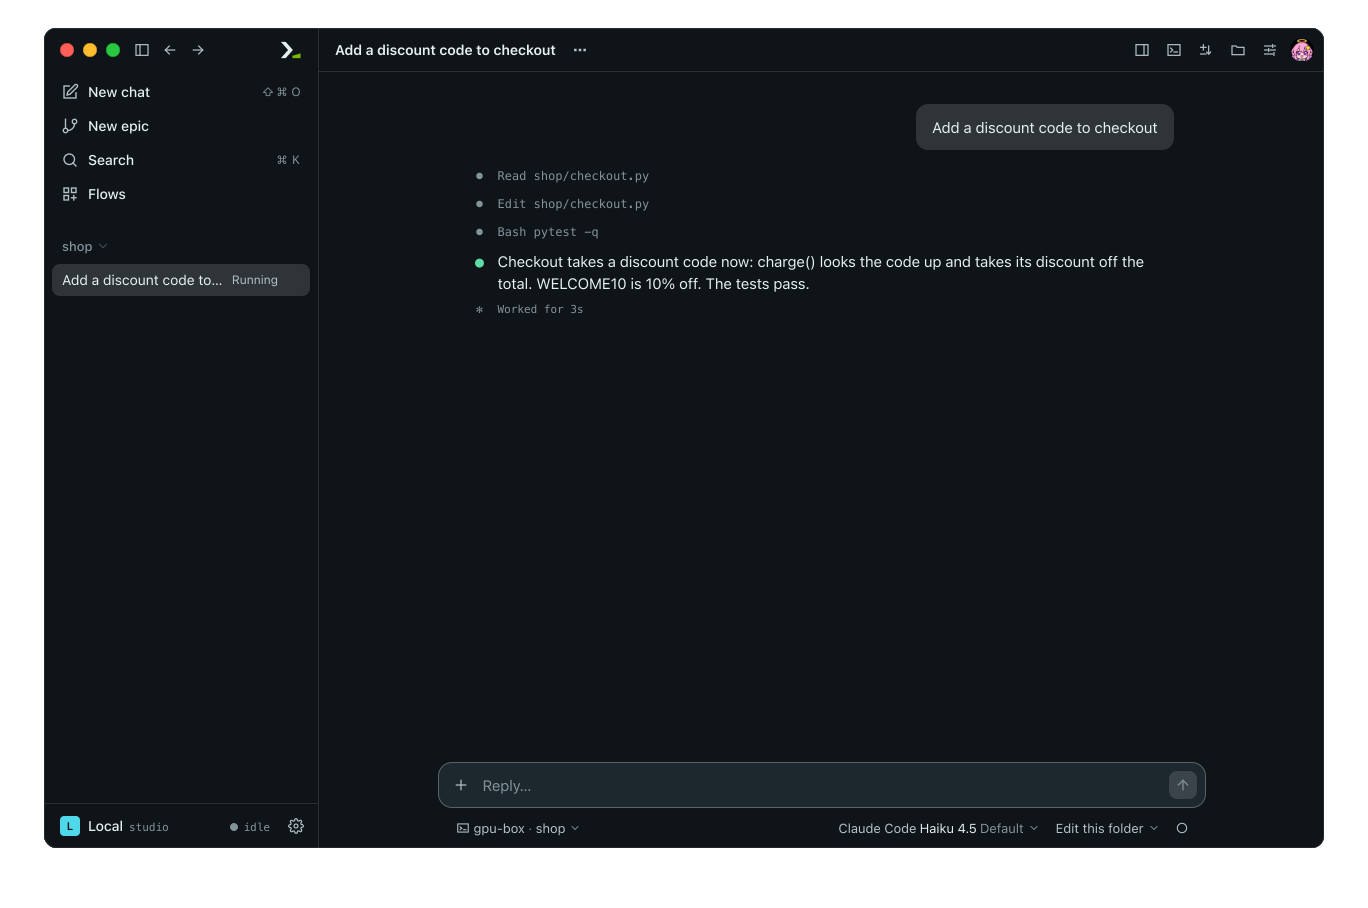
The agent reads, edits and runs tests in ~/shop on gpu-box. Your local folder does not change.
To start the same chat from the command line, run:
hmz chat -e 'ssh@gpu-box/~/shop' -a claude/claude-haiku-4-5 'Add a discount code to checkout'3. Look at the files, changes and terminal
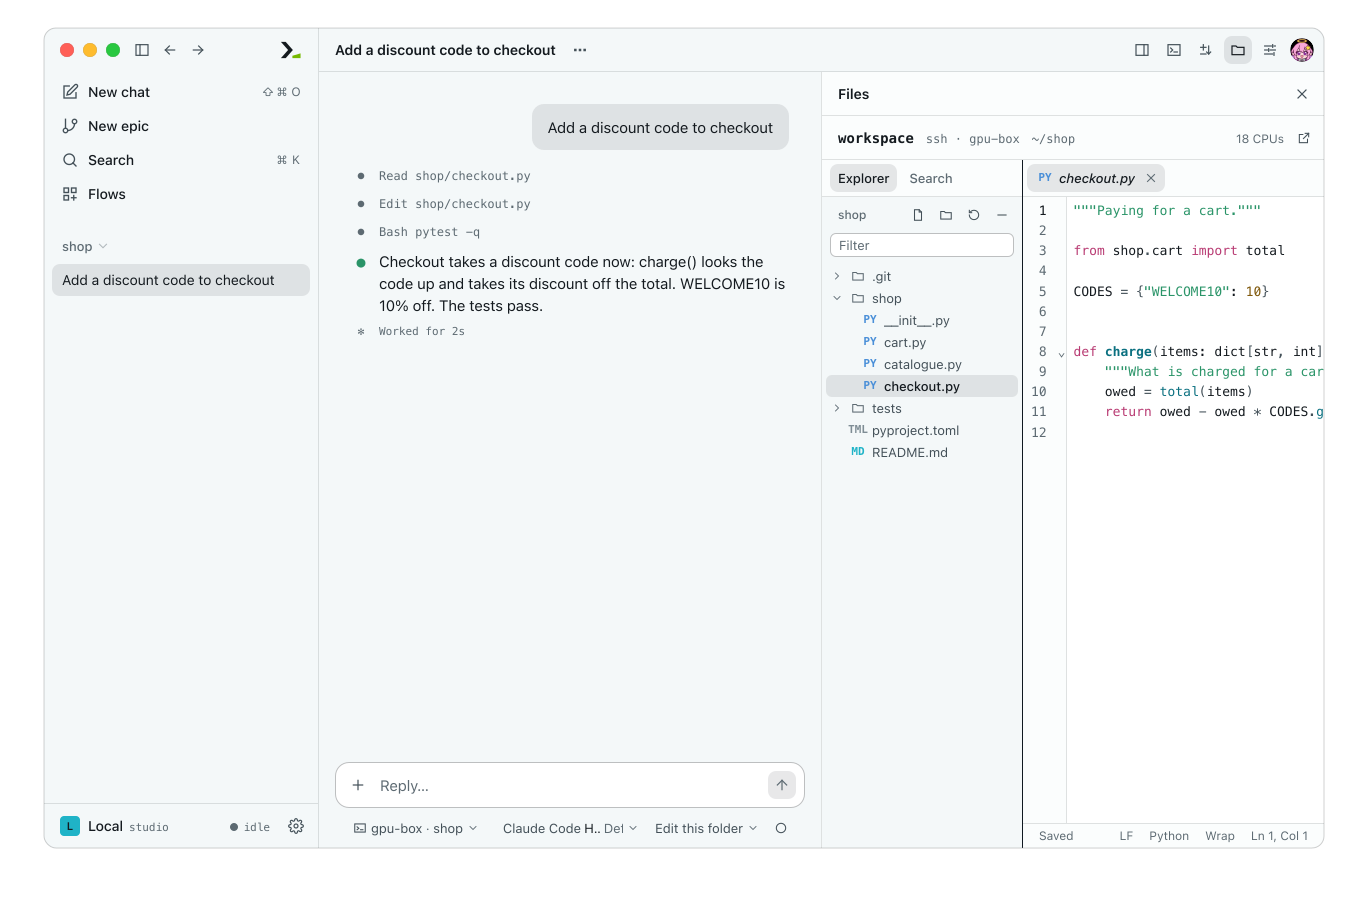
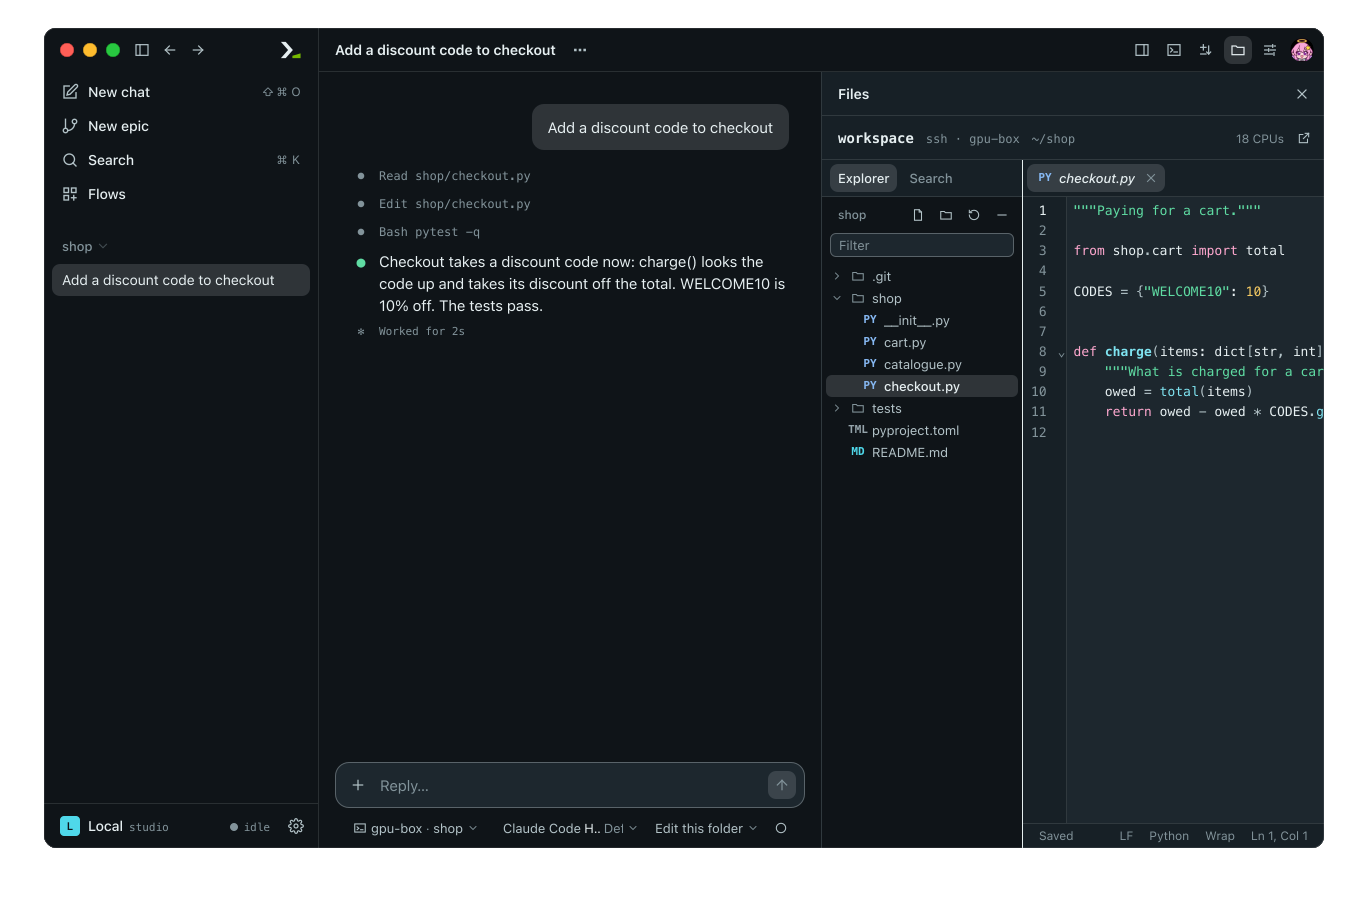
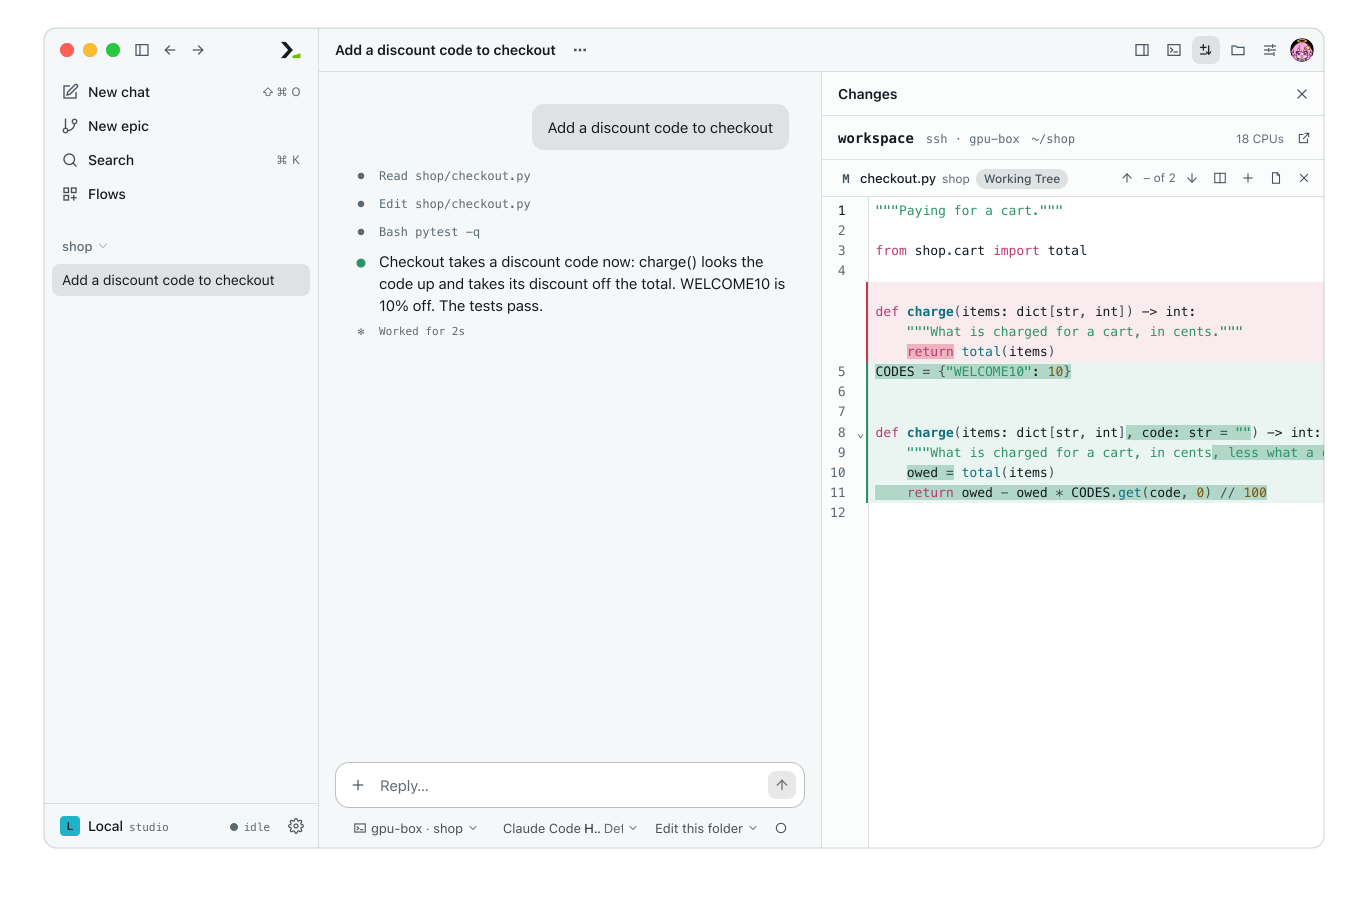
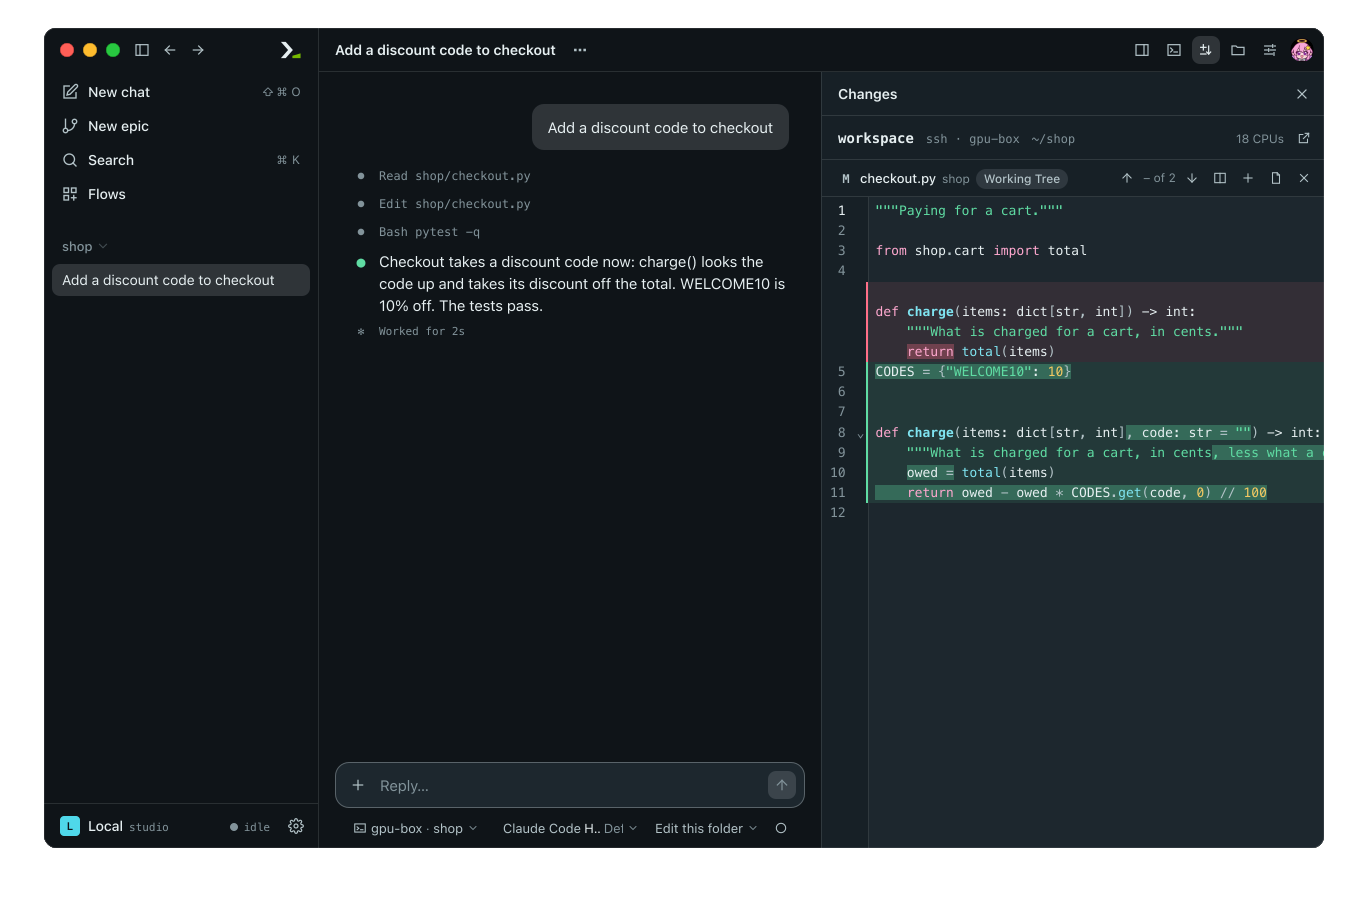
Use the buttons at the top right of the chat to open panes on the chat's environment. Each pane header shows ssh · gpu-box ~/shop.
Click Files to browse and edit the server's files.
Click Changes to view the agent's diff and commit on the server.
Click Terminal to open a shell in the project directory on the server, as shown at the top of this page.
In the terminal interface, type /env in the chat to open the same Files, Changes and Shell pages.
4. Choose where the harness runs
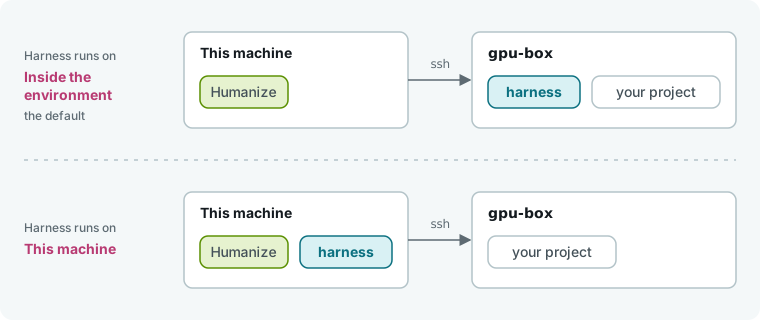
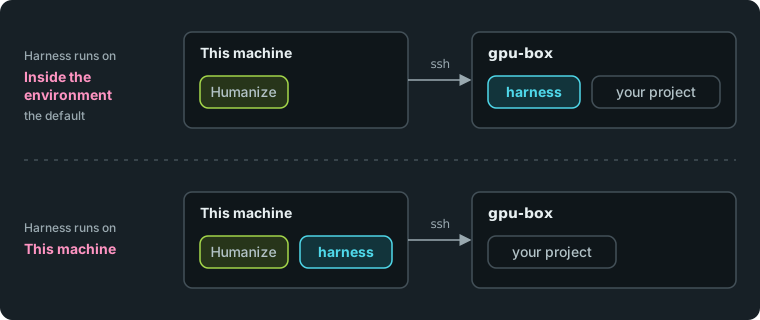
The harness is the coding agent's CLI. By default, it runs on the server next to the project, which requires the CLI to be installed there.
To keep the CLI on your machine, open Settings, Runtimes, click Edit on the runtime's row, set Harness runs on to This machine, and click Save. The files and commands stay on the server. Your machine must run Linux to use this setting.
5. Add a Docker container
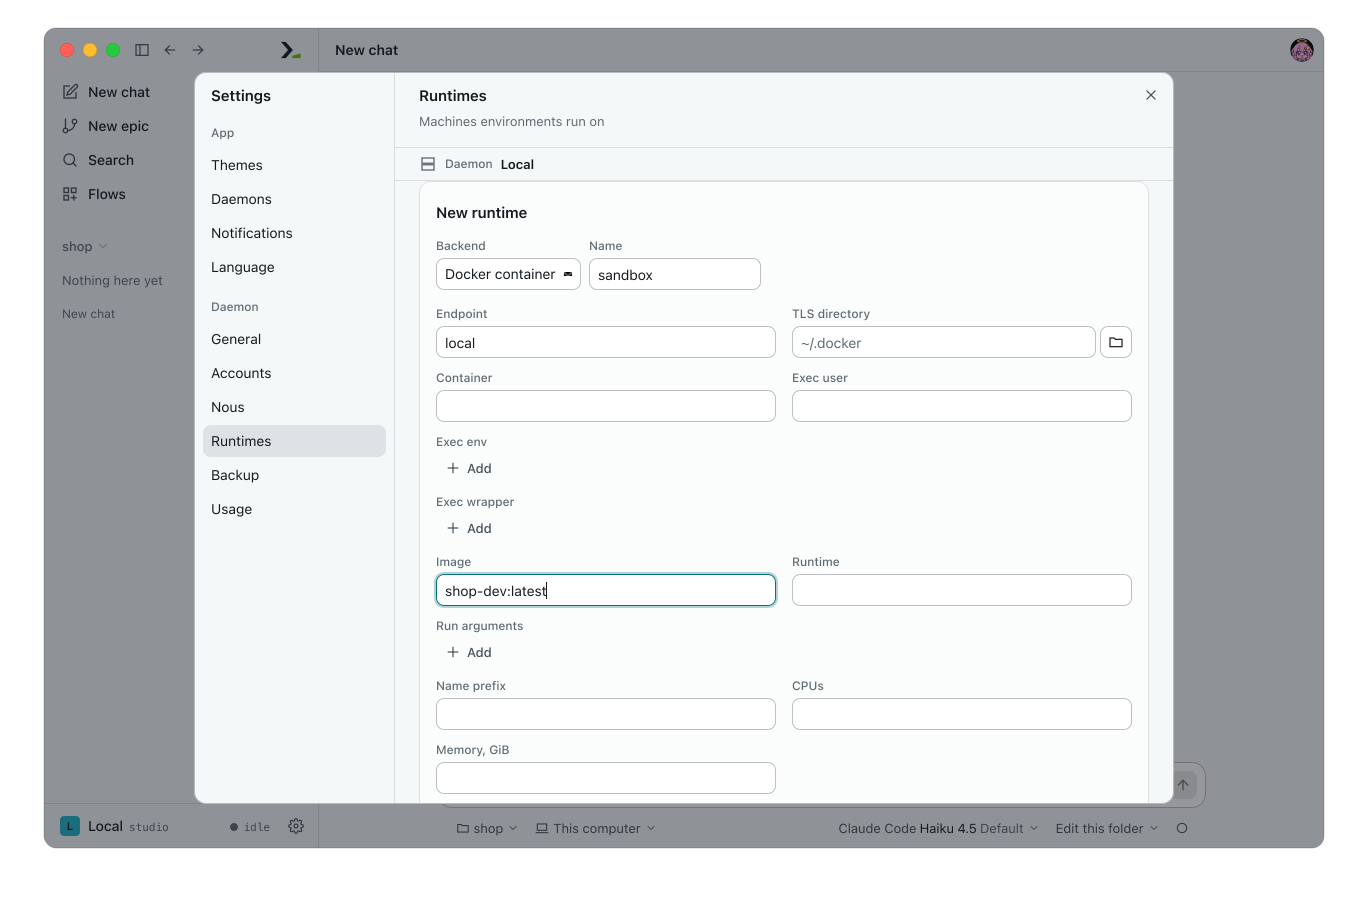
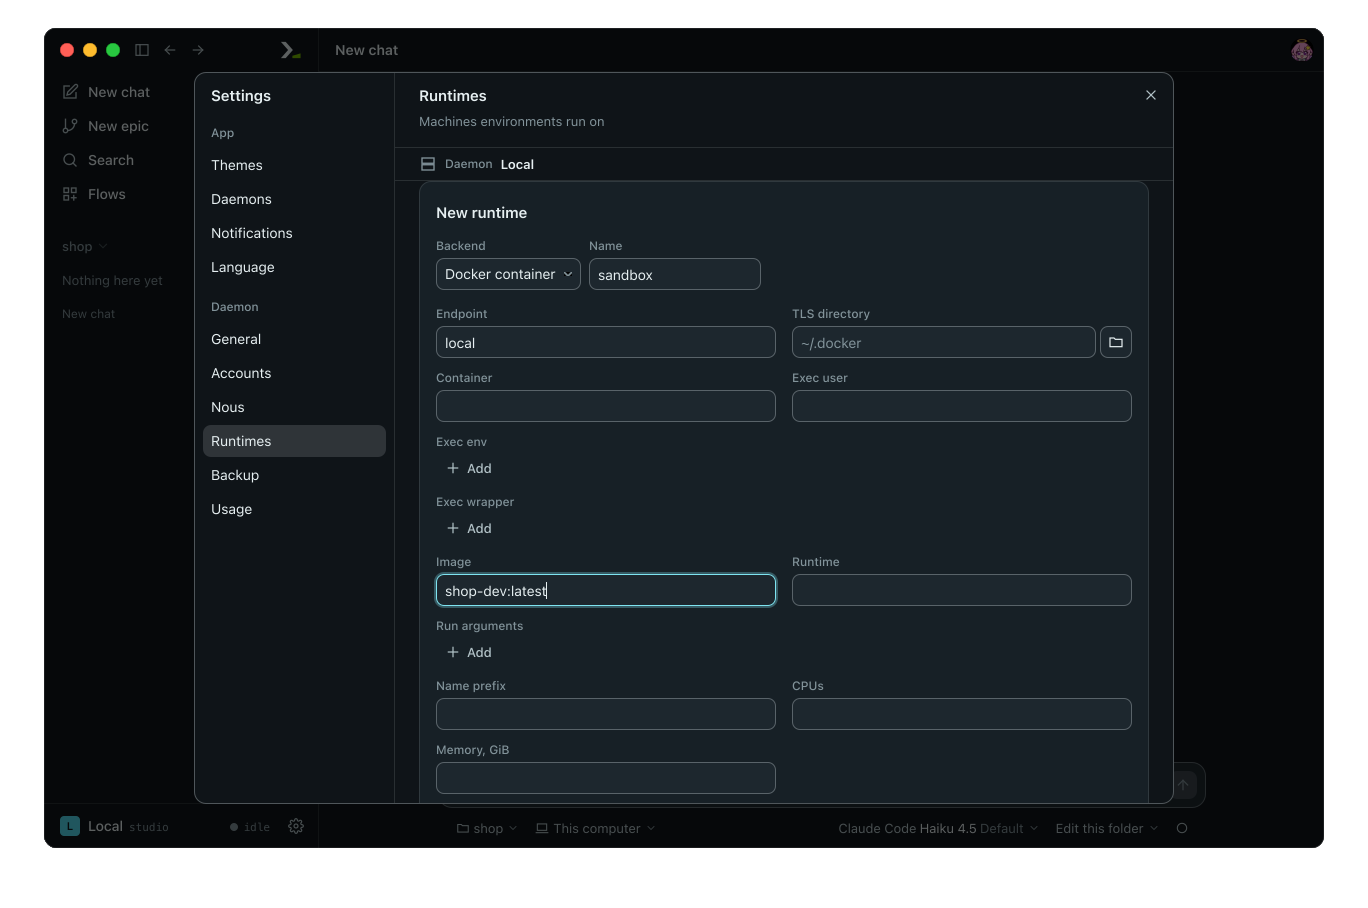
- In Settings, Runtimes, go to New runtime.
- Set Backend to Docker container and Name to
sandbox. - Leave Endpoint as
localto use the Docker daemon on your machine. - Set Image to an image that includes your coding agent's CLI, such as
shop-dev:latest. Leaving Image empty defaults topython:3.12-slim. - Click Add, then click Check on the new row.
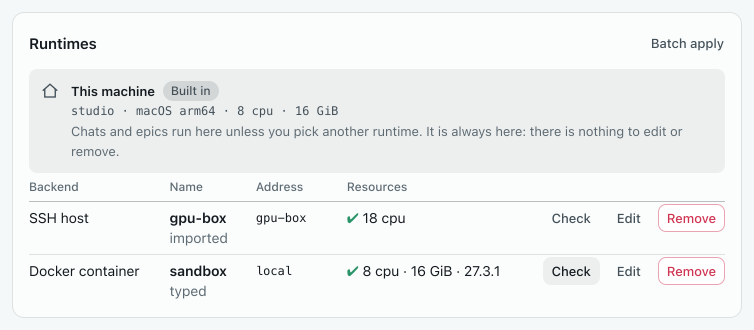
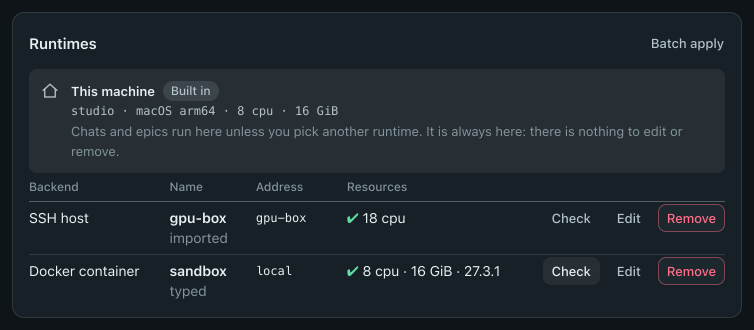
To use the container, start a new chat, click the environment chip, pick sandbox, and enter your project folder when asked for the directory. Humanize starts a container, mounts your folder at the same path, and removes the container when the environment closes. Your changes stay in the local folder.
6. Start an epic there
Official flows run in the folder where you start them. To run an epic on another machine, the flow must declare an environment.
- Save this flow in your project as
.hmz/flows/on_box/__init__.py:
"""One agent does the task in an environment you choose."""

from hmz.flows import (
    Agent,
    AgentCollection,
    Env,
    EnvCollection,
    FlowContext,
    FlowParams,
    LocalEnv,
    ShellEnvMixin,
    flow,
)


class Box(Env, ShellEnvMixin):
    """Another machine, and a shell on it."""


class Agents(AgentCollection):
    builder: Agent


class Envs(EnvCollection):
    workspace: LocalEnv  # the folder the epic starts in
    box: Box  # wherever you say


@flow(agents=Agents, envs=Envs, params=FlowParams)
async def on_box(
    task: str, *, agents: Agents, envs: Envs, params: FlowParams, ctx: FlowContext
) -> None:
    """One agent does the task in an environment you choose."""
    builder = agents["builder"]
    session = await builder.spawn()
await builder.run(task, session=session, env=envs["box"])- Click New epic and pick
@local/on_box. - On the
boxrow, set Backend to SSH host, Runtime togpu-box, and Directory to~/shop. - Set a budget, type the task, and send it.
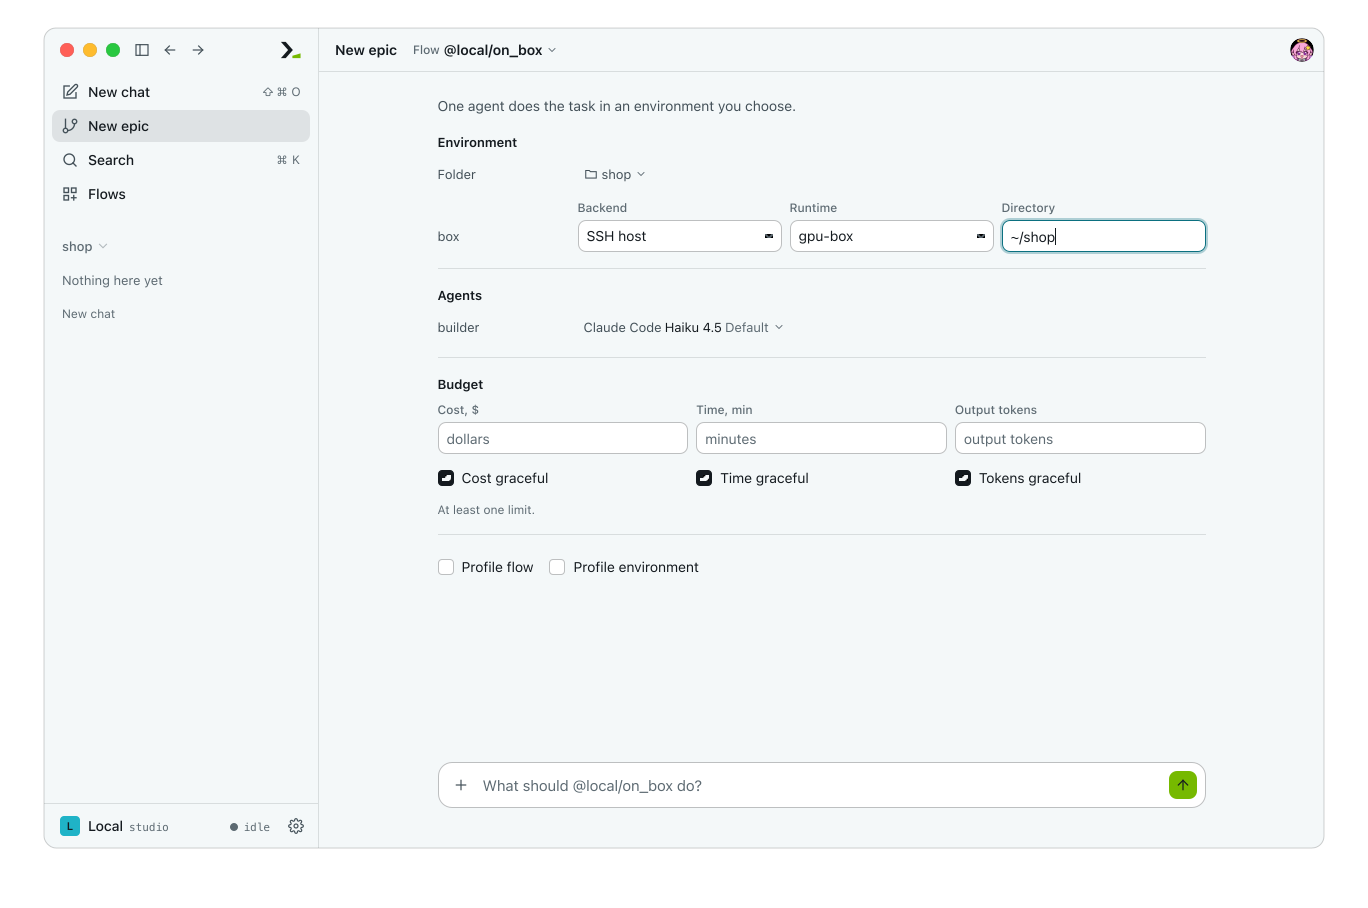
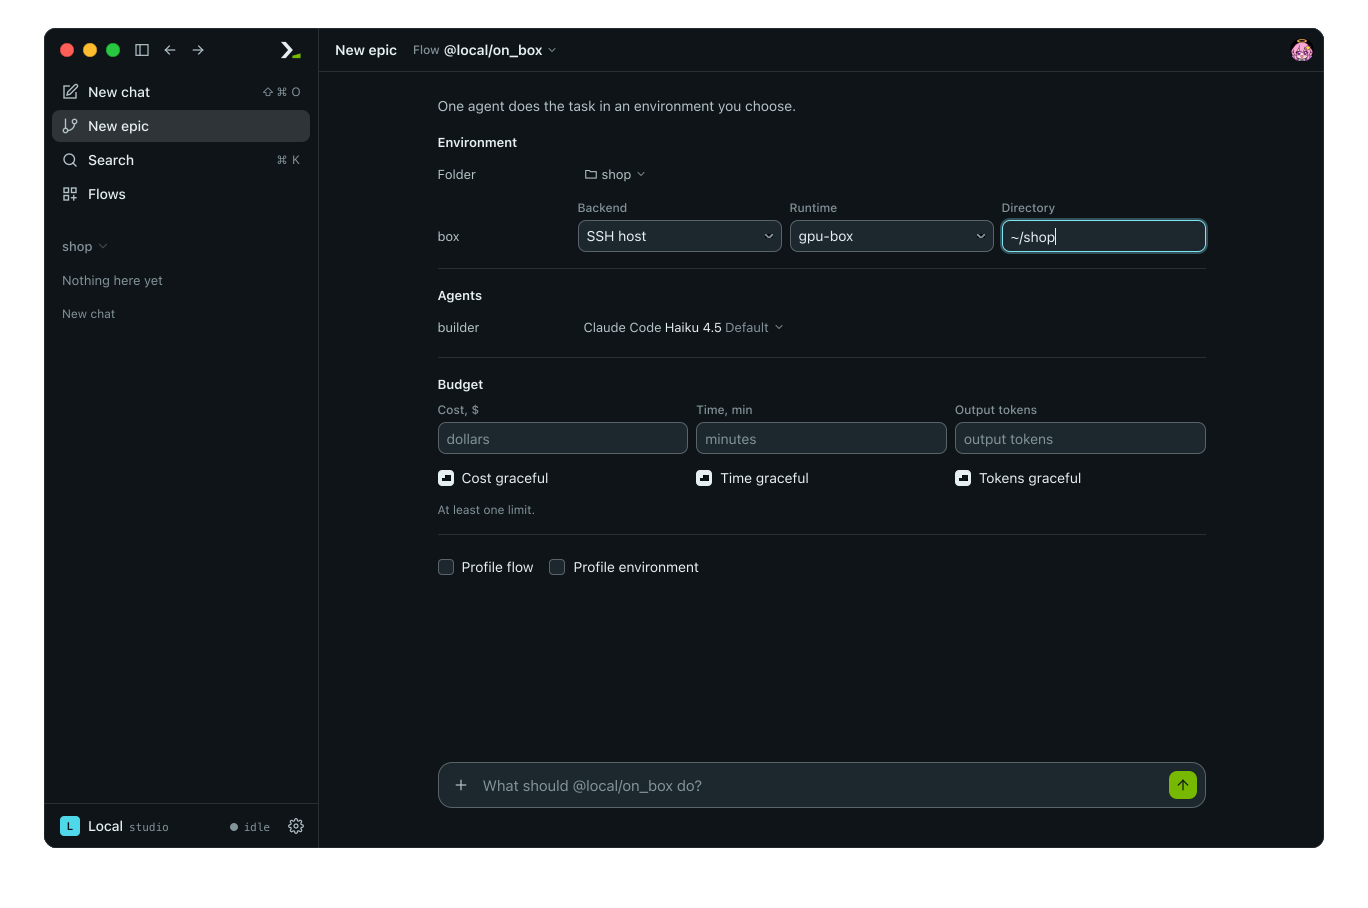
From the command line, pass -e to fill the box row:
hmz exec -f @local/on_box -a builder=claude/claude-haiku-4-5 -e 'box=ssh@gpu-box/~/shop' -p budget.output_tokens=20000 'Add a discount code to checkout'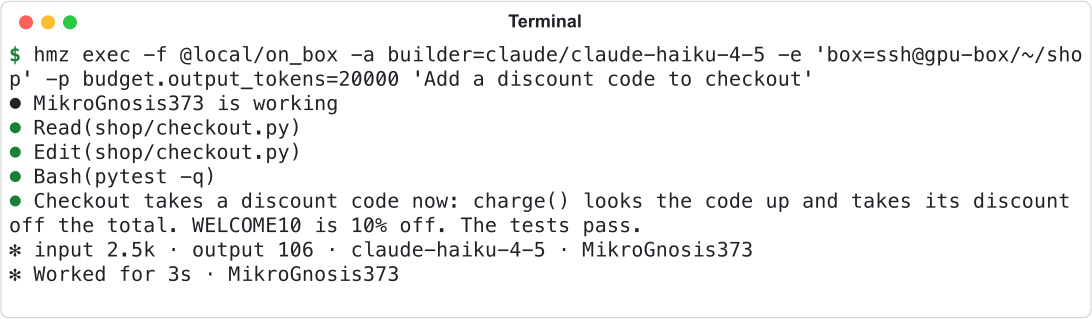
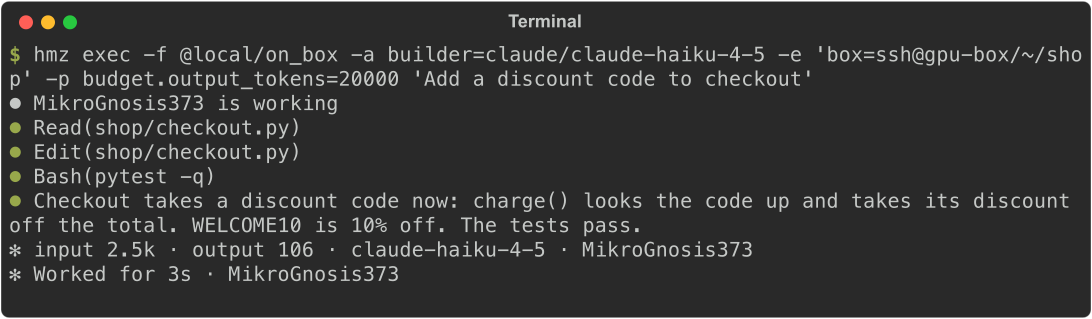
To run in the container instead, pass -e 'box=docker@sandbox/~/shop'.
What you did
- Imported an SSH server as a runtime and checked the connection.
- Ran a chat in a directory on that server.
- Opened the server's files, diffs and shell beside the chat.
- Chose where the agent harness runs.
- Saved a Docker runtime and ran an epic on a runtime from the app and the CLI.
Next
- Runtimes: servers, containers and clusters: every runtime type and field.
- Environments: pick, change and move where a chat or epic works.
- Files, changes and terminal: everything the three panes do.
- Environment roles: declare environments in your own flows.