Finish your first task in Humanize Desktop
In fifteen minutes, you install the app, chat with a coding agent, install a flow, and run it on a task in your project until it is done.
What you need
- A Mac with macOS 11 or later, or a PC with Windows 10 or later and WSL 2.
- A project folder. This page uses
~/shop. On Windows, keep it under your Linux home in WSL. - An account with one coding agent, such as Claude Code, and
npmto install its CLI. - On a Mac: uv, to install the Humanize CLI.
1. Install the Humanize CLI
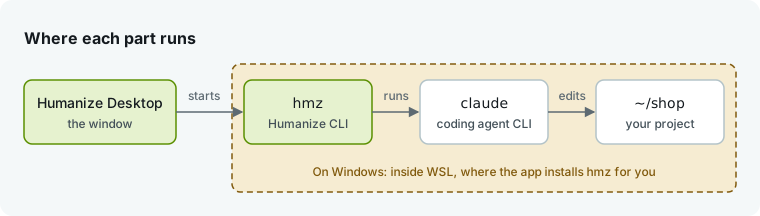
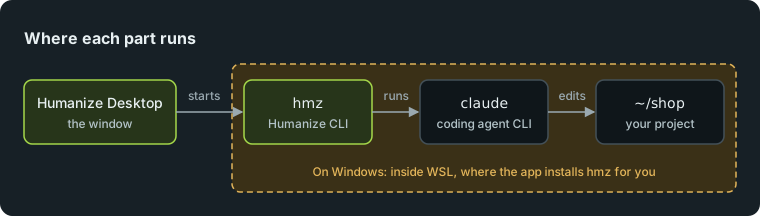
Humanize Desktop is a window onto the Humanize CLI, hmz, which runs a coding agent CLI in your project.
On a Mac, install hmz in a terminal:
uv tool install hmzOn Windows, skip this step. The app installs hmz in WSL. If you do not have WSL yet, run wsl --install in PowerShell first.
2. Sign in to a coding agent
Humanize drives a coding agent CLI, called a harness. To set up Claude Code, run these commands in a terminal (on Windows, use a WSL terminal):
npm i -g @anthropic-ai/claude-code
claude auth login
Skip this step if a coding agent CLI is already signed in. See Coding agents for other harnesses.
3. Install the app
Download the installer from the latest release.
- Mac: open
humanize-<version>-macos-universal.dmgand drag Humanize Desktop onto Applications. - Windows: run
humanize-<version>-windows-x64-setup.exe. It installs for your user without administrator rights.
4. Open the app
Open Humanize Desktop from Applications, or from the Start menu on Windows. The window shows Starting, then opens a new chat.
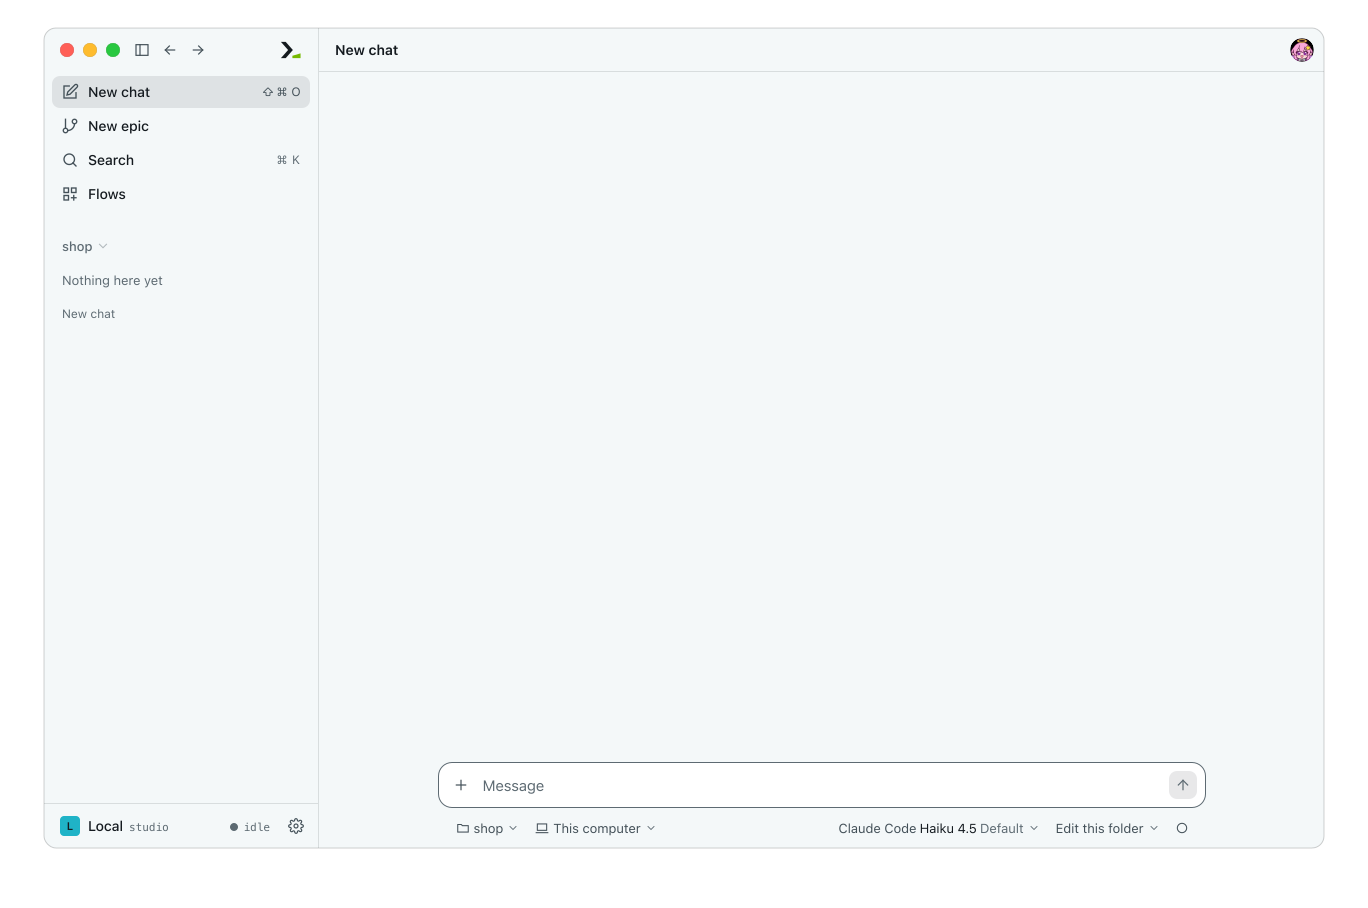
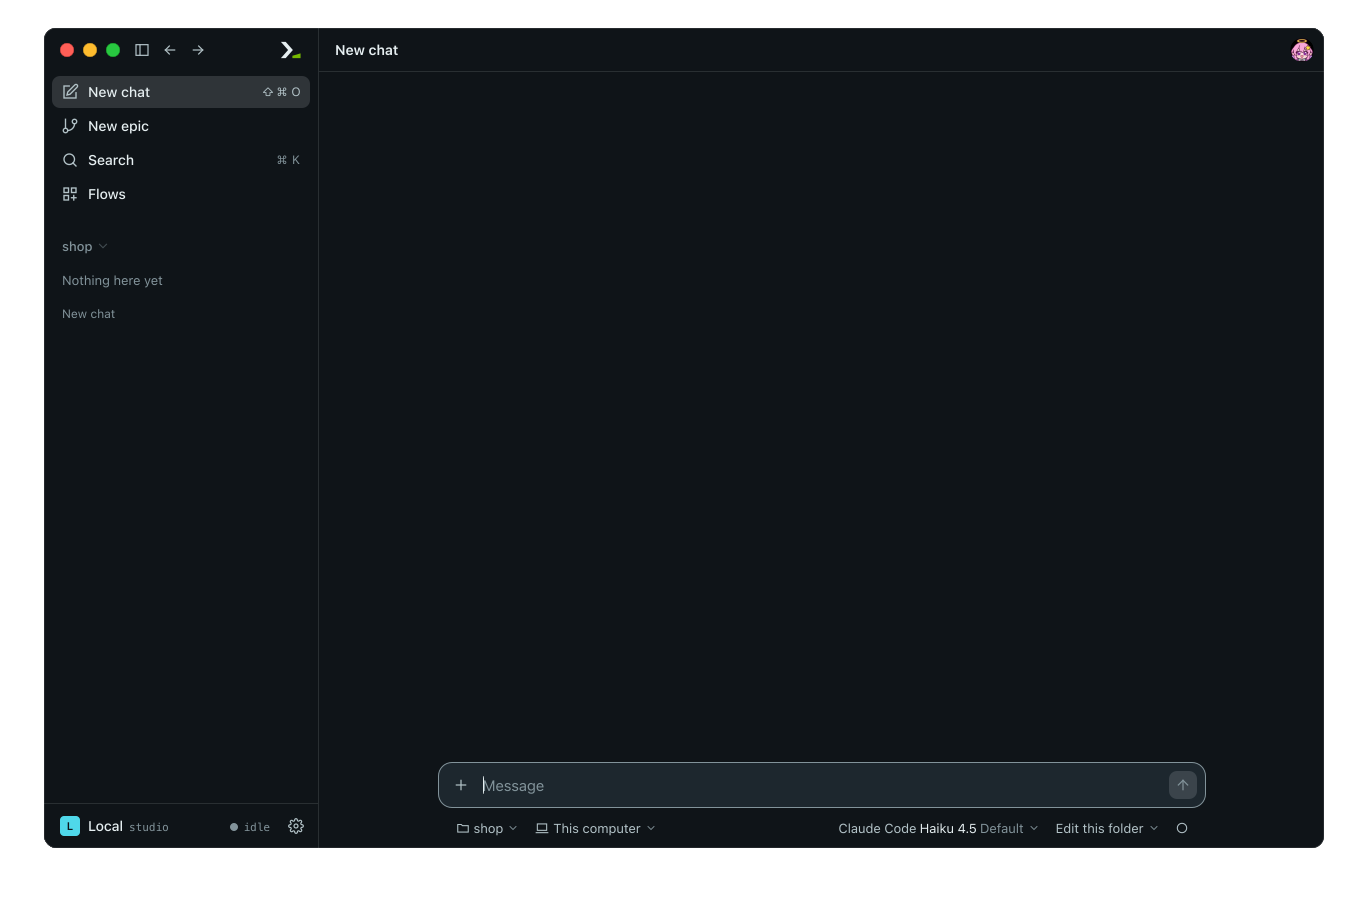
If macOS blocks the app on first launch, click Done, open System Settings → Privacy & Security, and click Open Anyway.
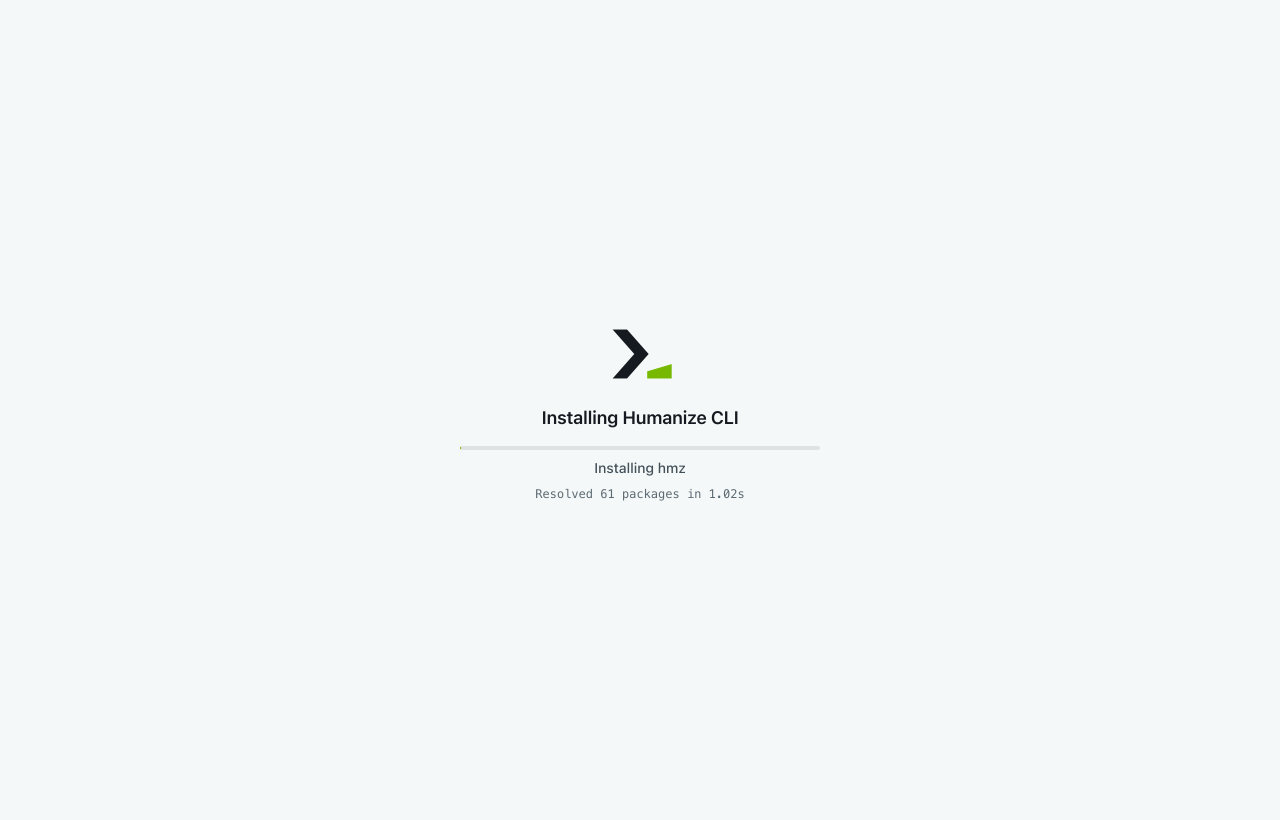
On Windows, the first launch shows Installing Humanize CLI while the app installs hmz in WSL.
5. Add an account
Click Settings (the gear at the bottom of the sidebar), then click Accounts. When the page says No account yet., every agent uses your sign-in from step 2. On a Mac, skip to step 6.
To run agents with another account, such as an API key, fill in New account:
- Set CLI to
Claude Codeand Sign-in method tokey. - Type a Name, such as
work. - Paste your key under
ANTHROPIC_API_KEY. - Click Create.
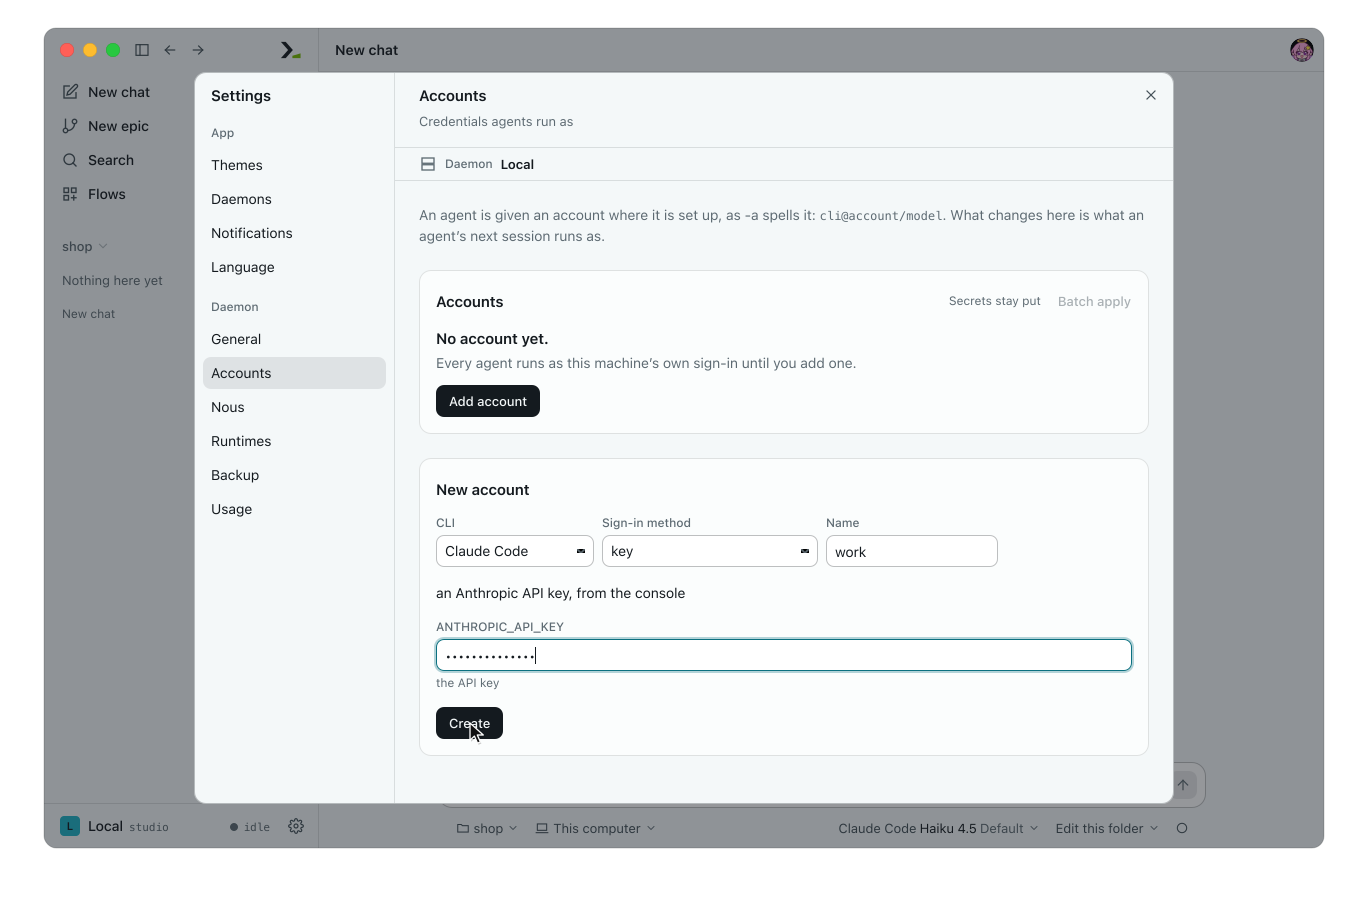
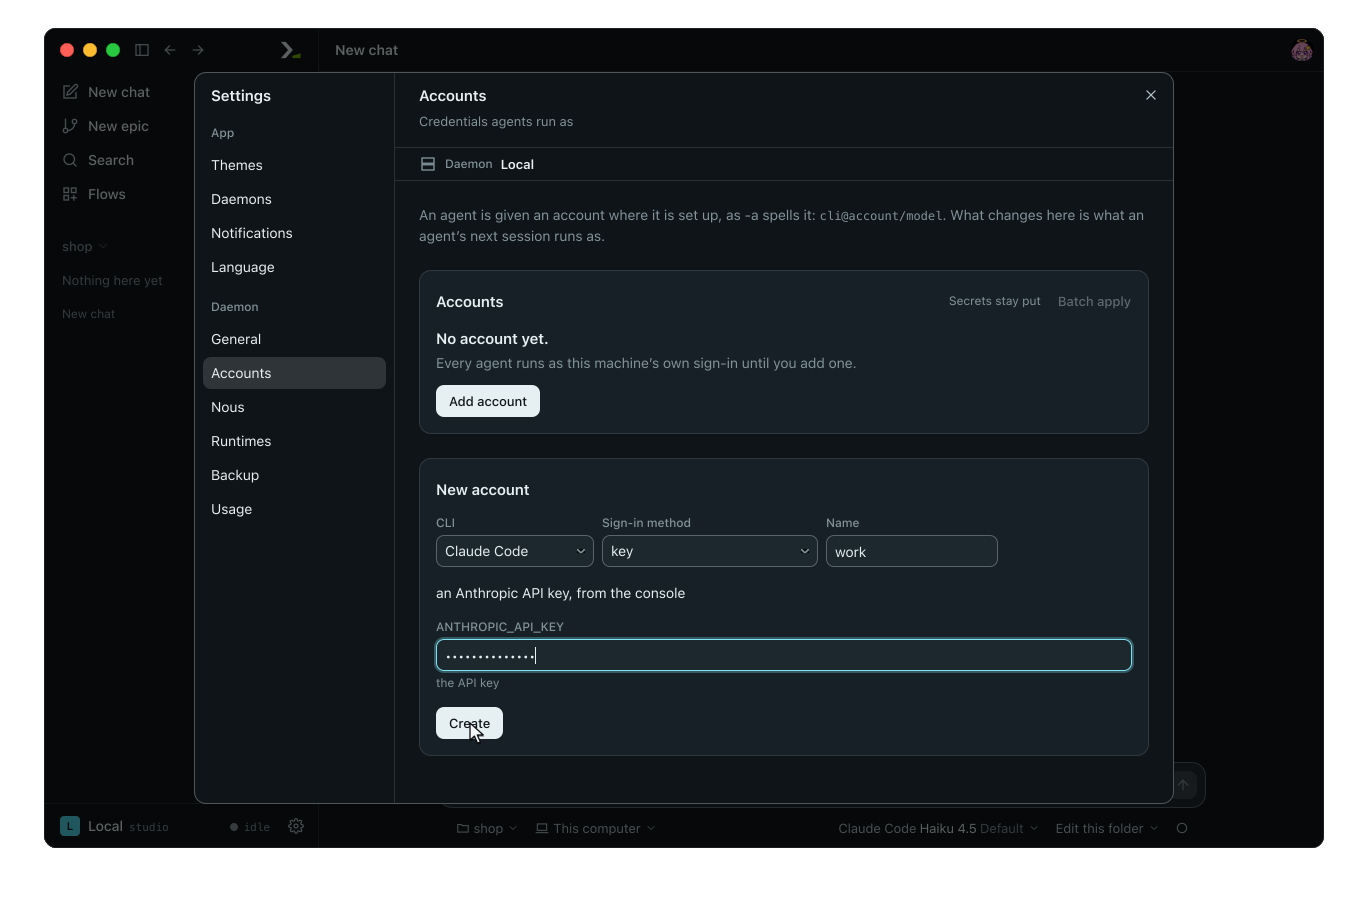
To use the account, click the agent chip under a message box, open Account, and pick work.
WARNING
An account you add for Claude Code works only where the agent runs on Linux. That includes the Windows app, which runs agents in WSL. On a Mac, use the sign-in from step 2.
6. Open your project and chat
- Click New chat in the sidebar.
- Click the folder chip under the message box and choose Open folder….
- Type
~/shopand click Open.


The agent chip shows the harness, model, and effort. Click it to pick another.
Type a question and press enter:
Where is checkout handled?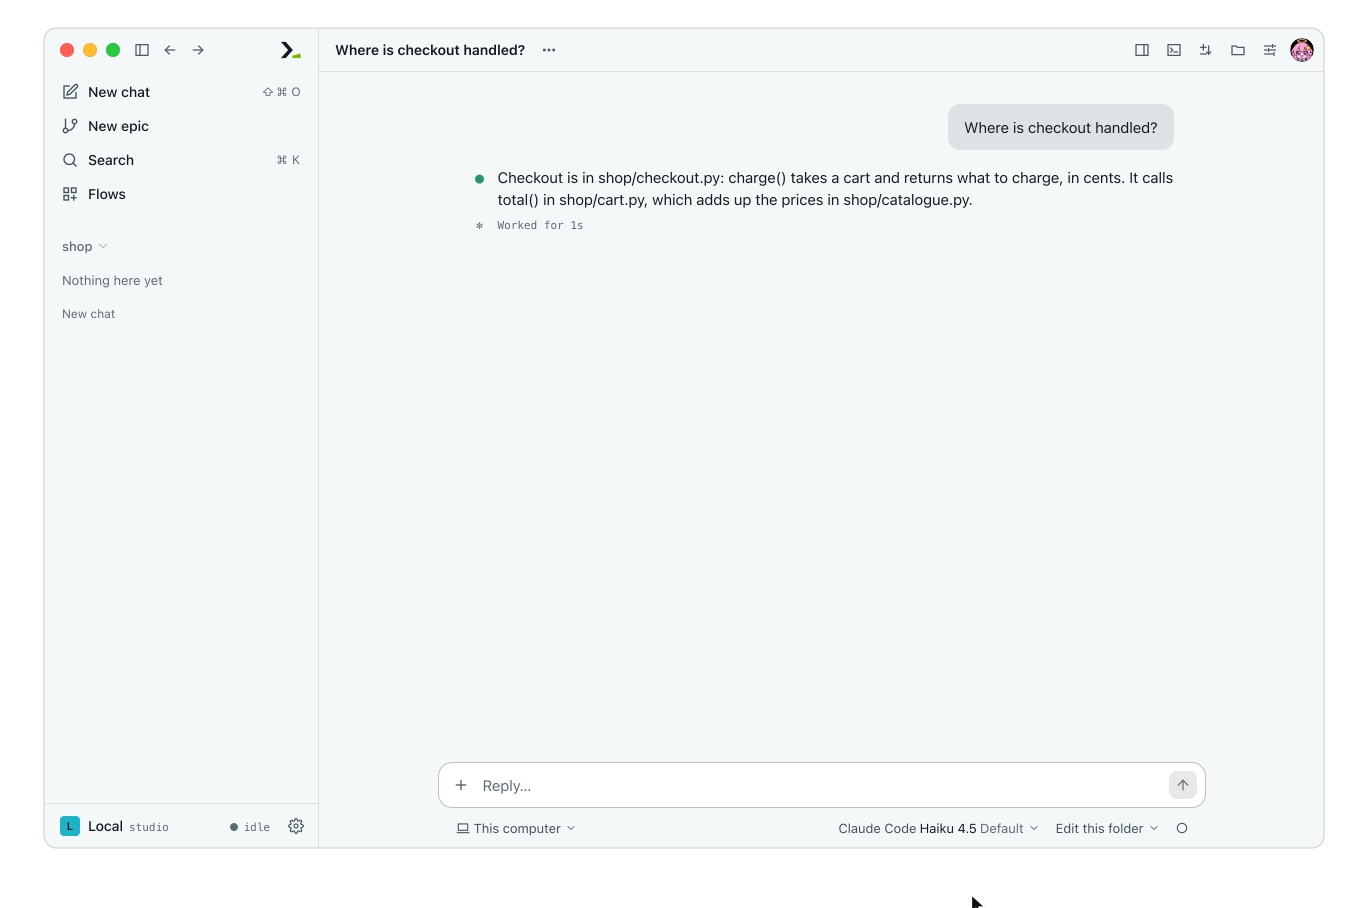
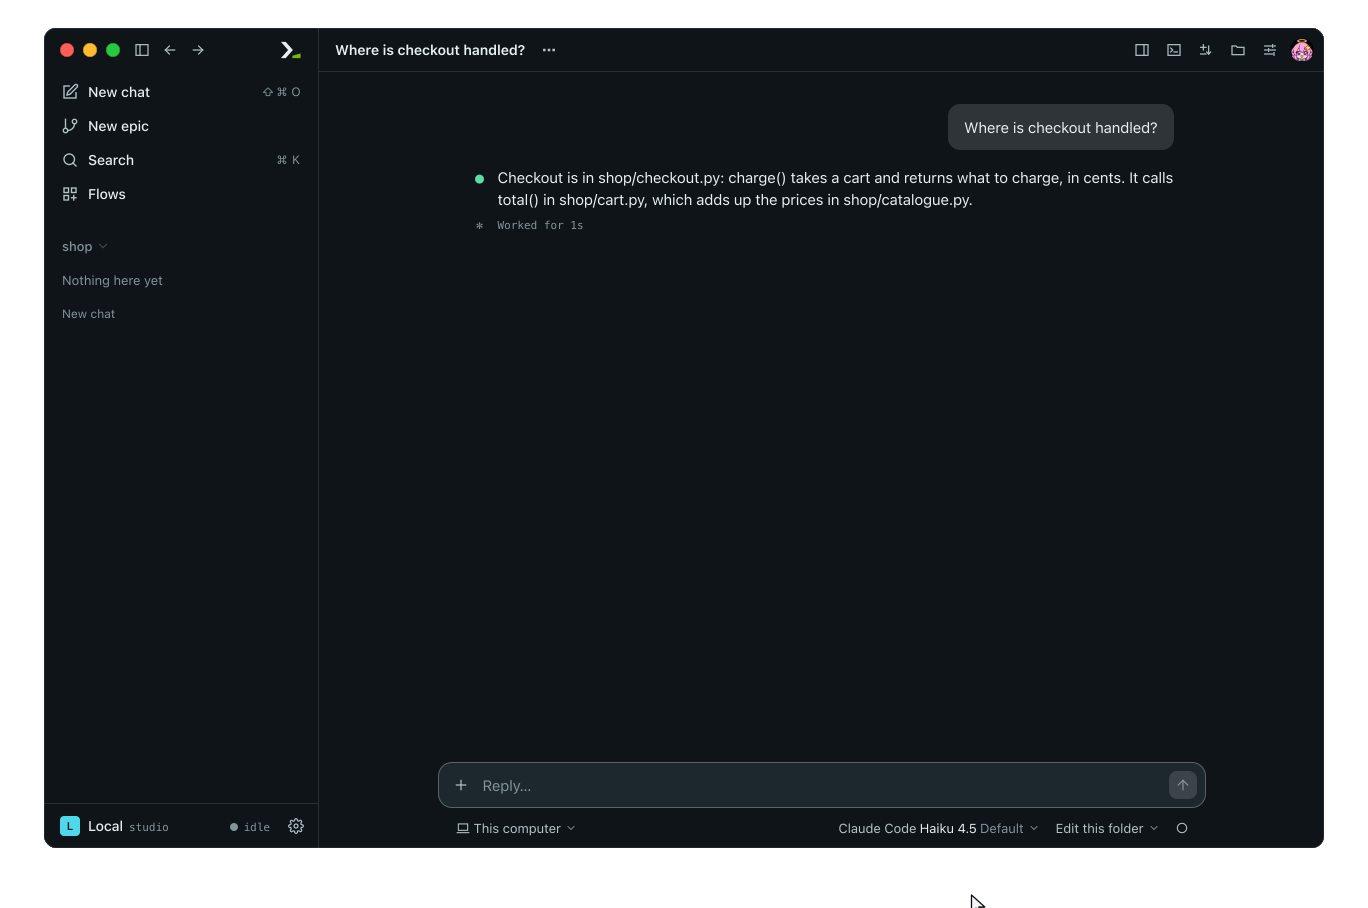
A chat runs directly without a flow or a budget.
7. Install a flow
A flow is a loop that runs agents on a task. Humanize starts with no flows installed. You install flows from a flowverse, and the official flowverse is already listed.
- Click Flows in the sidebar.
- Click Browse Flowverses. The
Officialtab lists the available flows. - Click Install beside
rlar. The row updates to show its version andinstalled.
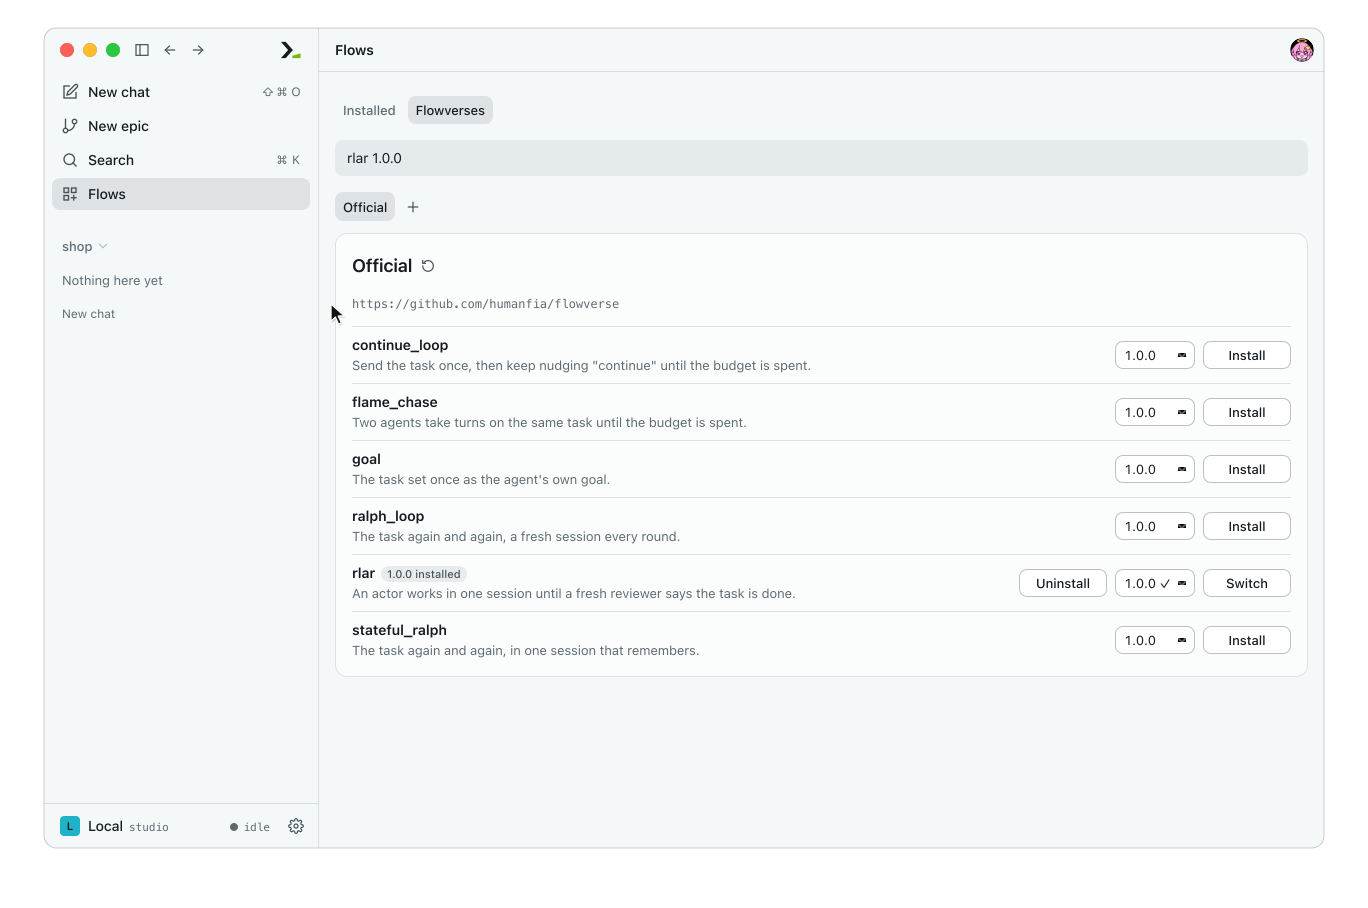
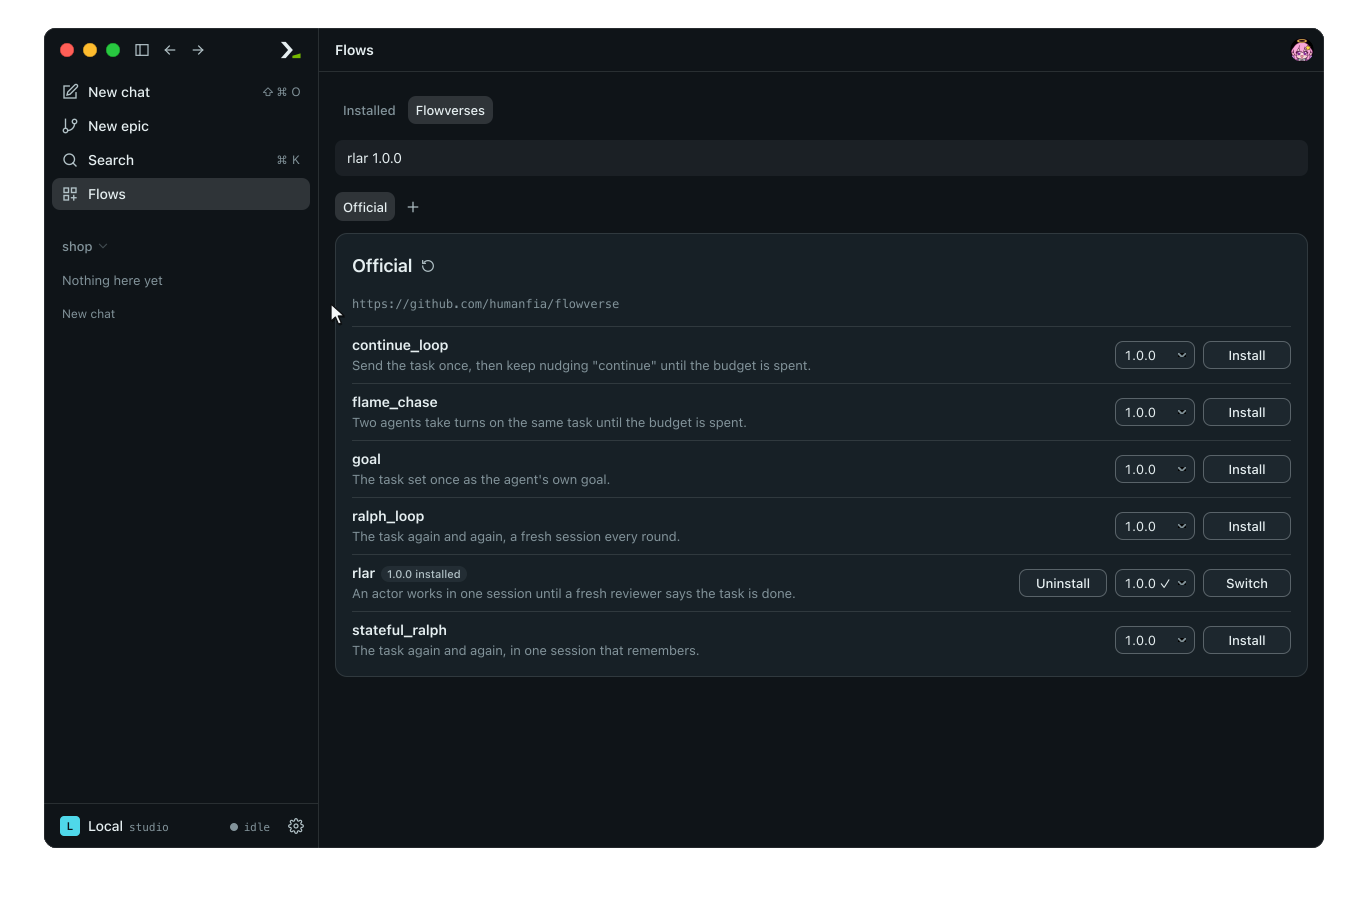
In rlar, an actor works on the task until a fresh reviewer marks it done. See the catalogue for other flows.
8. Start an epic
An epic is one recorded run of a flow.
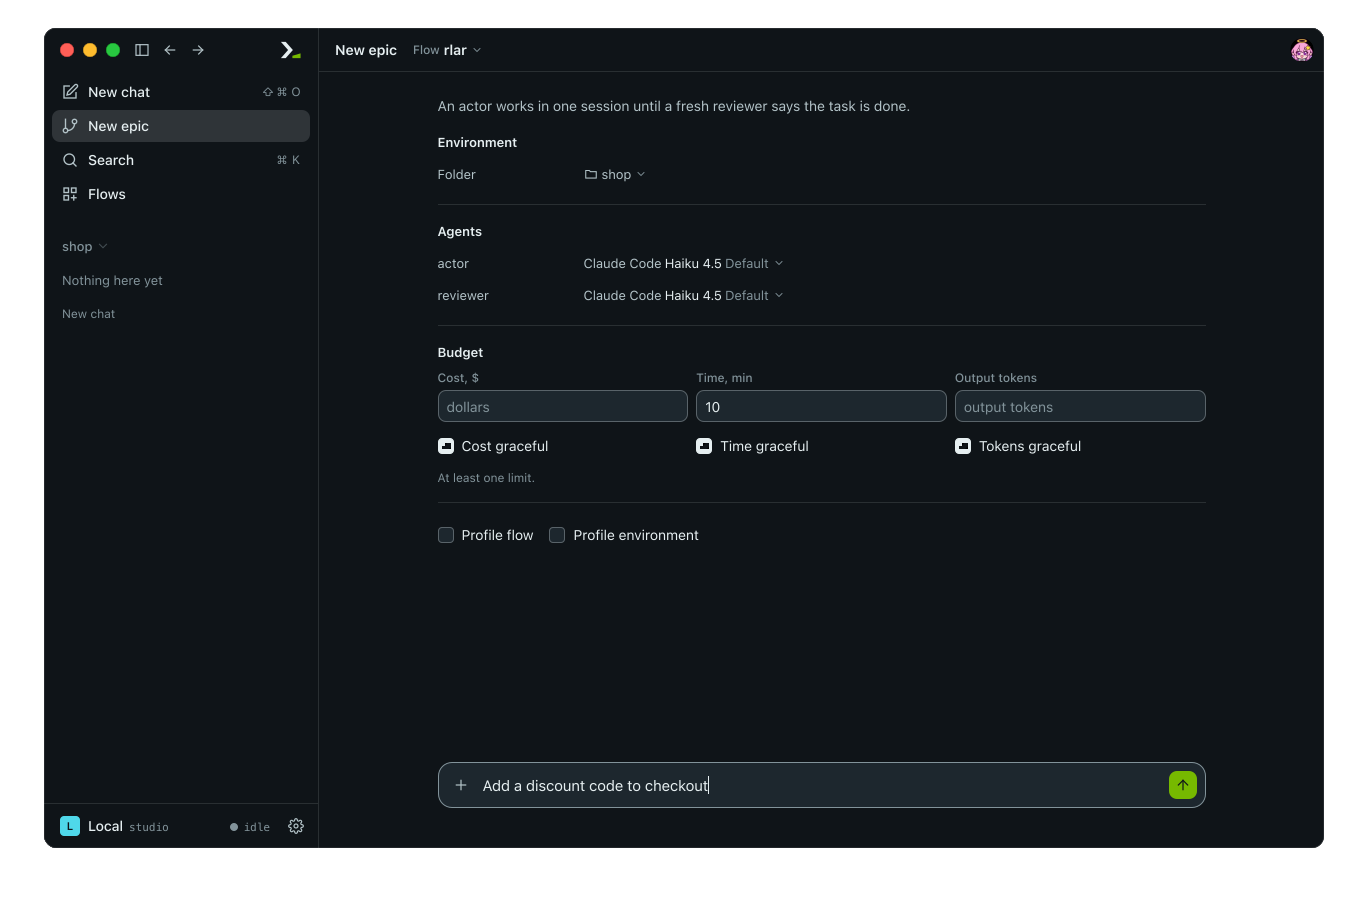
- Click New epic in the sidebar. The flow defaults to
rlar, and Folder isshop. - Under Agents, the
actorandreviewerroles already have agents assigned. Click an agent to change it. - Under Budget, type
10in Time, min. Every epic requires at least one limit; you can also set Cost, $ and Output tokens. - Type the task at the bottom and press enter:
Add a discount code to checkout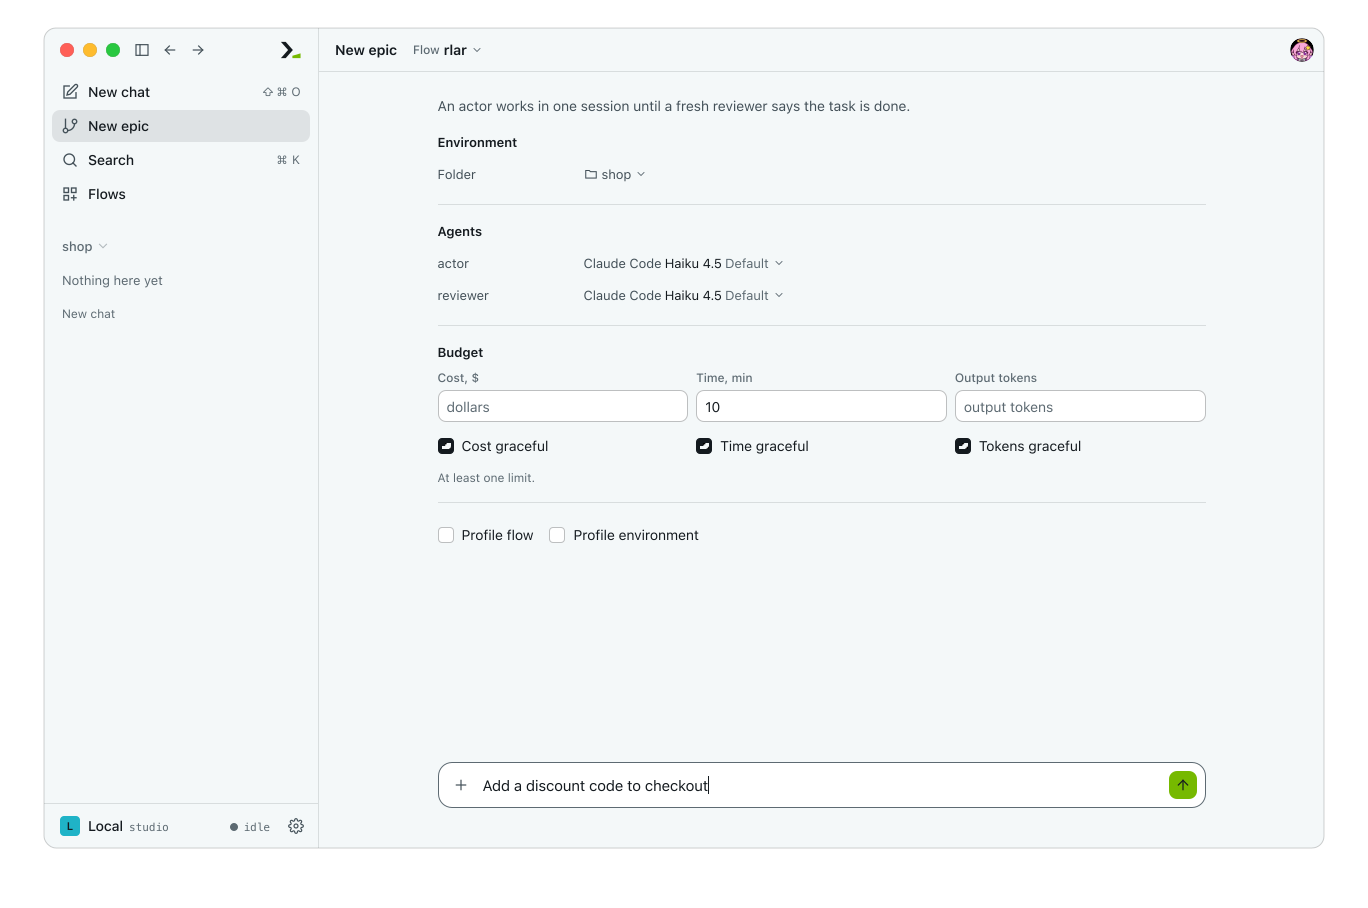
9. Watch it run
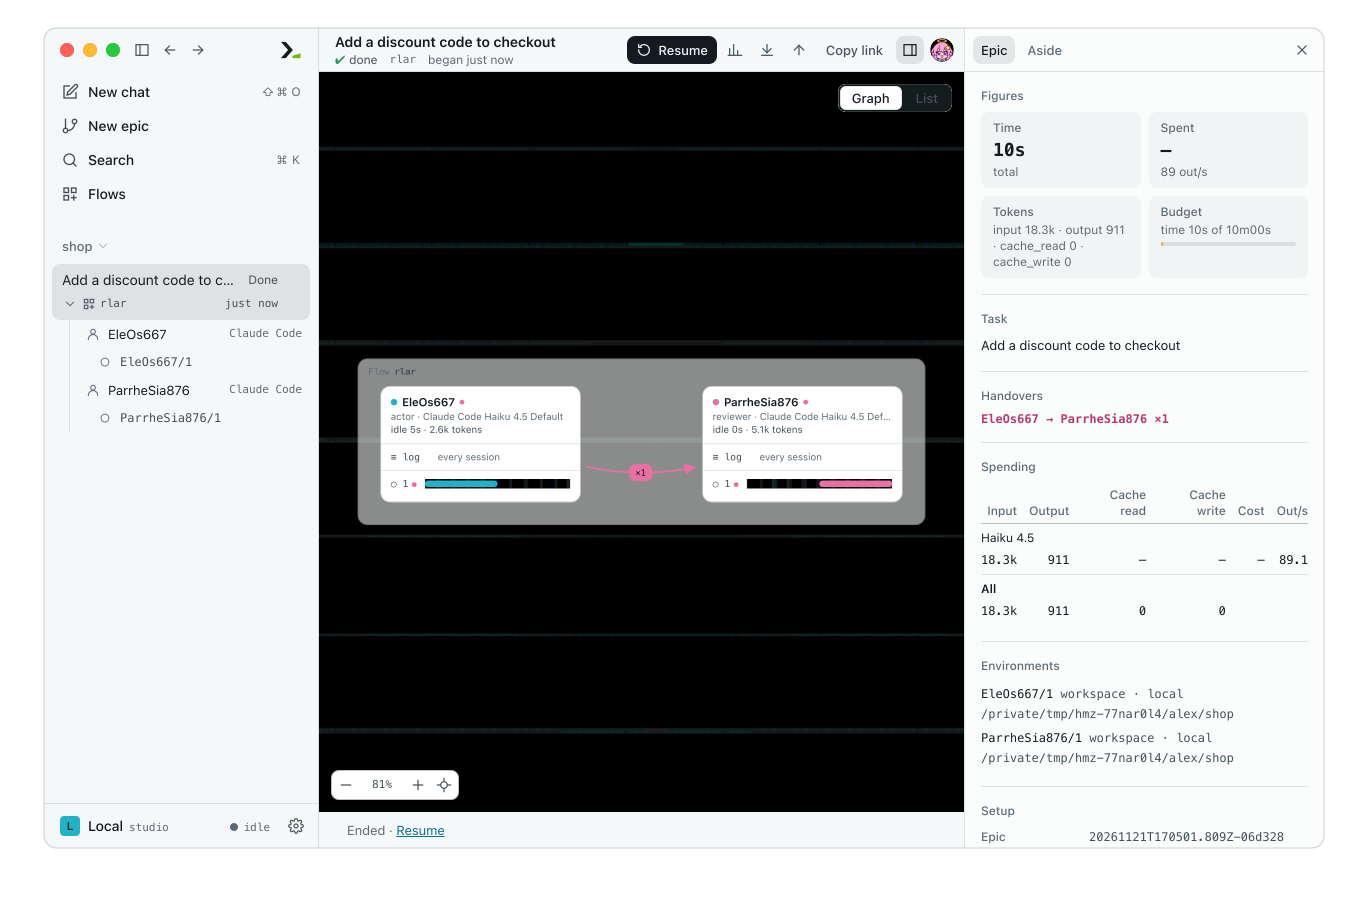
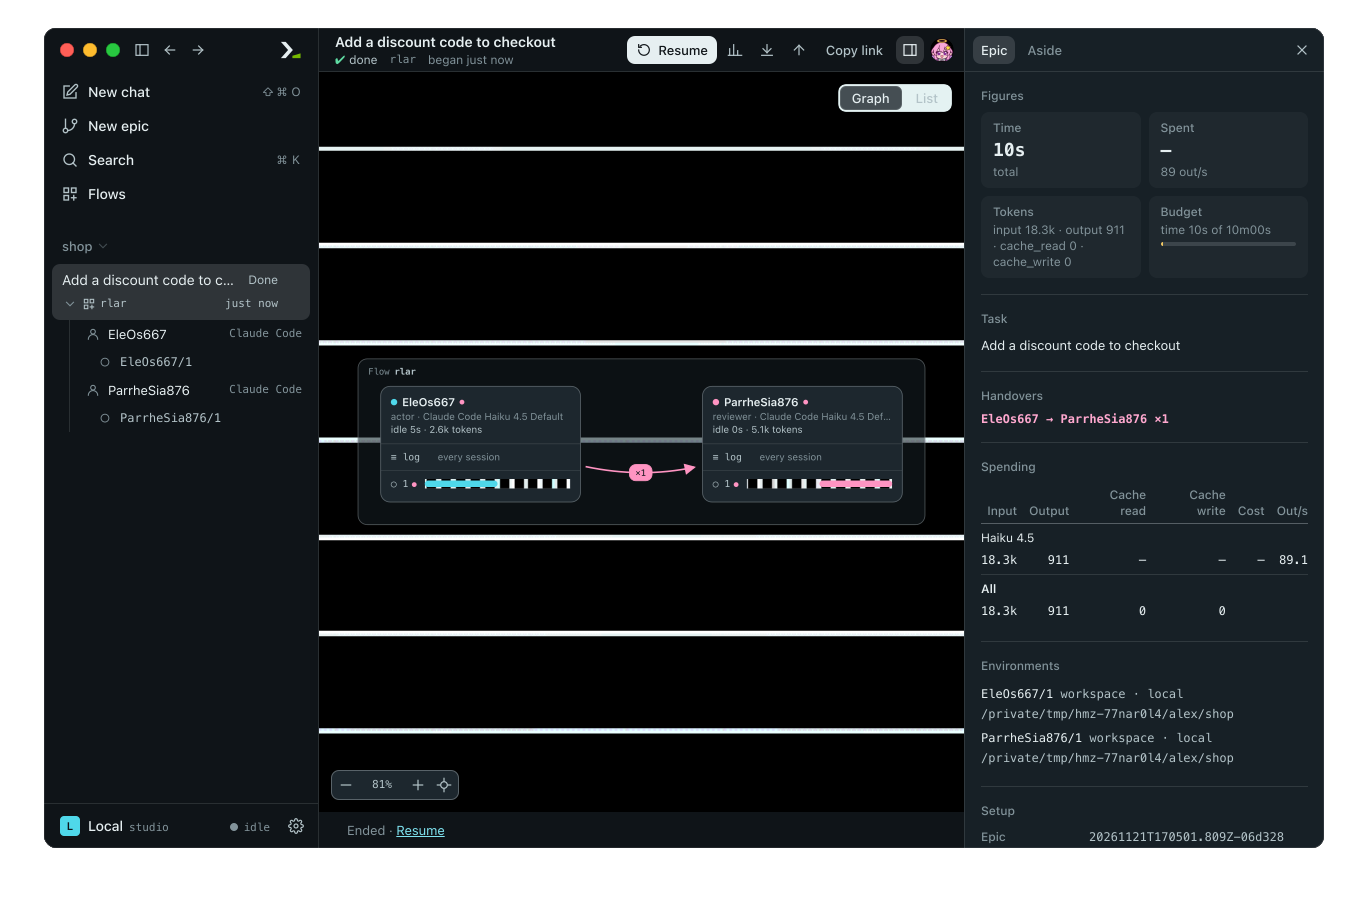
The epic opens in the running state. The graph draws a box for each agent and highlights the active one. The right panel tracks elapsed time, token usage, and how much of the budget is used.
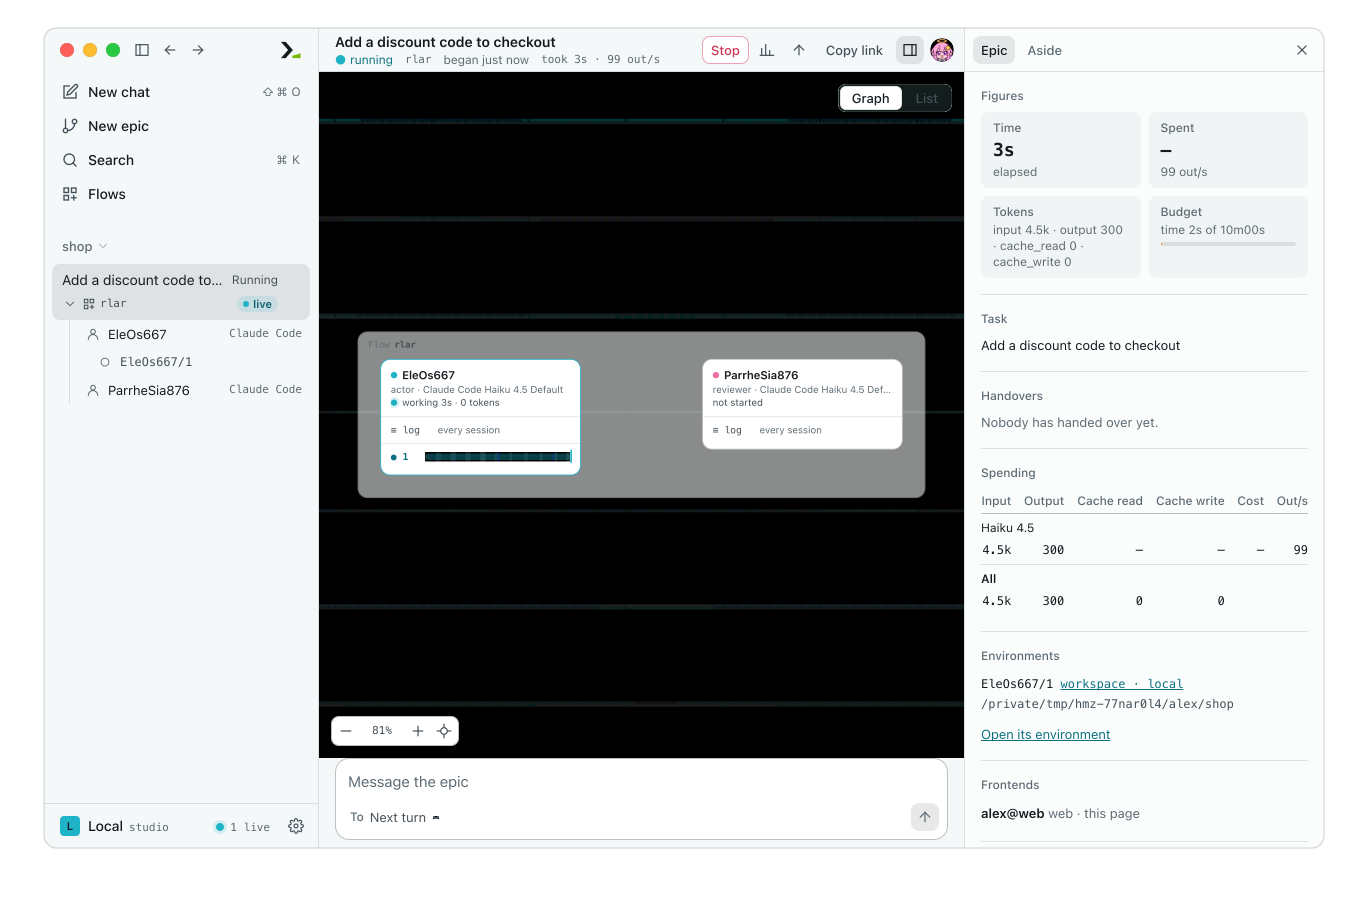
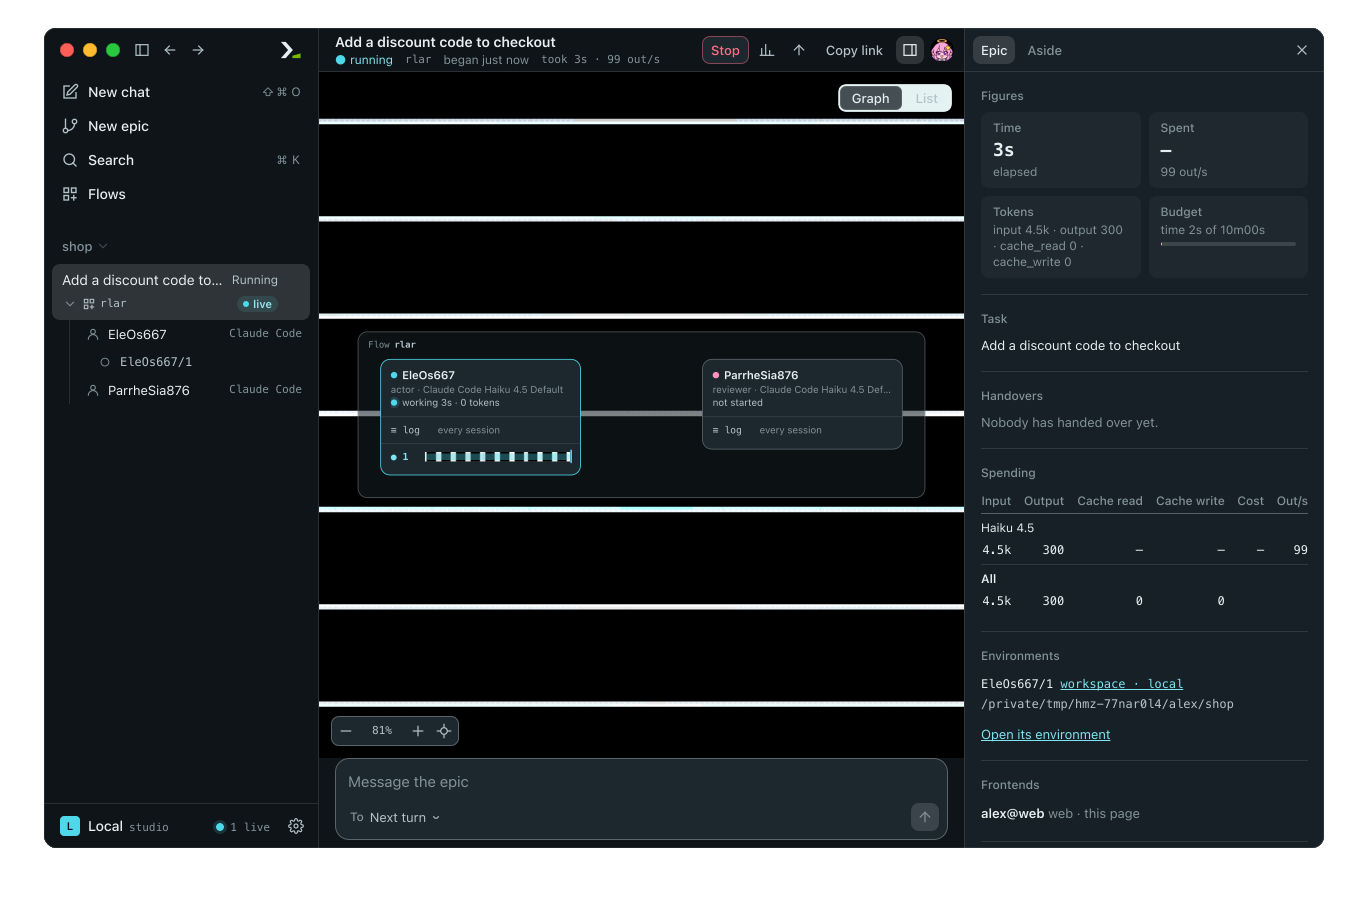
To end the run early, click Stop, then click Stop again to confirm.
10. See it finish
When the reviewer approves the work, the epic state changes to done. An arrow in the graph shows the actor handing off to the reviewer.
Click any session under an agent, in the graph or the sidebar, to inspect its tool calls, outputs, and final answer.
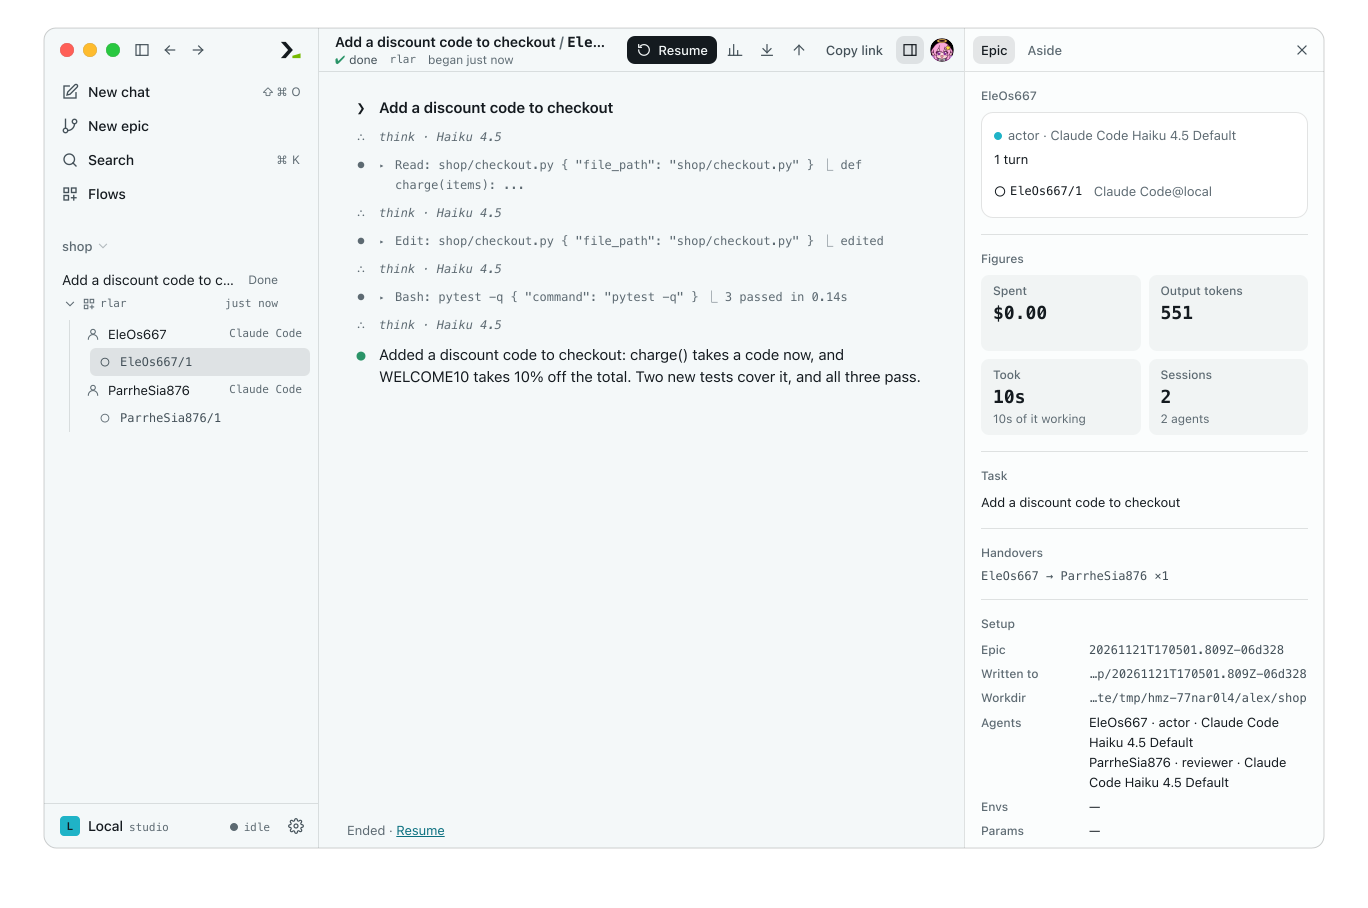
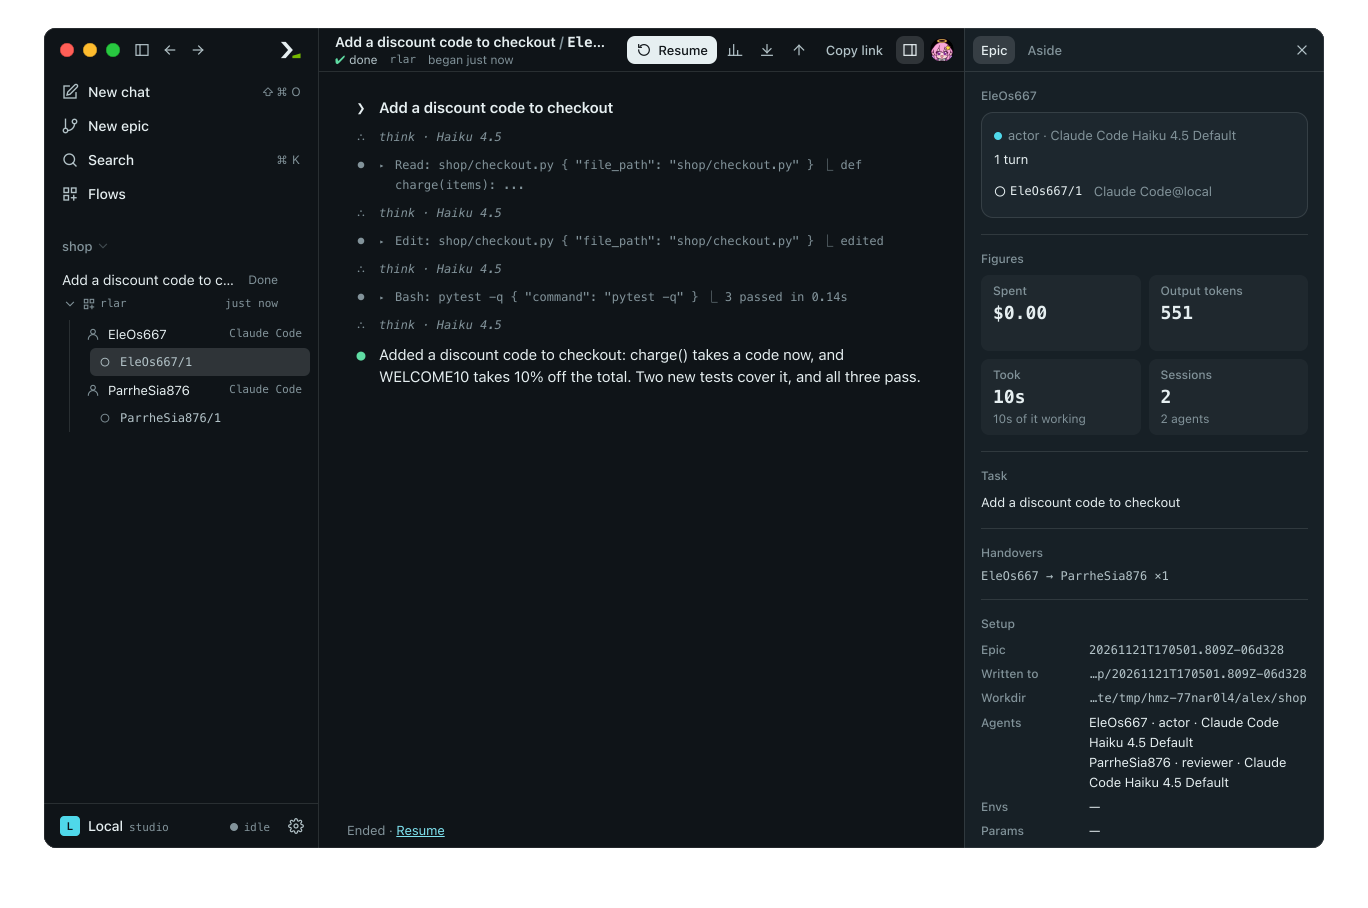
The agent's changes are now in your project folder.
What you did
- You installed Humanize Desktop, opened your project, and chatted with a coding agent.
- You installed
rlarfrom the official flowverse. - You ran an epic on a task under a budget.
- You inspected the agents' sessions once the run finished.
Next
- Humanize Desktop: learn what else the app does and how to troubleshoot startup issues.
- Find and install flows: browse, update, and add your own flows.
- Budgets: see all limit types and what happens when a run reaches one.
- Leave a long task running overnight: close the window and return to a finished run.